How to Smoke Meat With a Weber Kettle
One of the things I love about Weber kettle is their versatility. While most people use these charcoal grills for high heat grilling, you can also use them as amazing “Low and Slow” barbecue pits.
Here is an easy guide for “How to Smoke Meat With a Weber Kettle“!
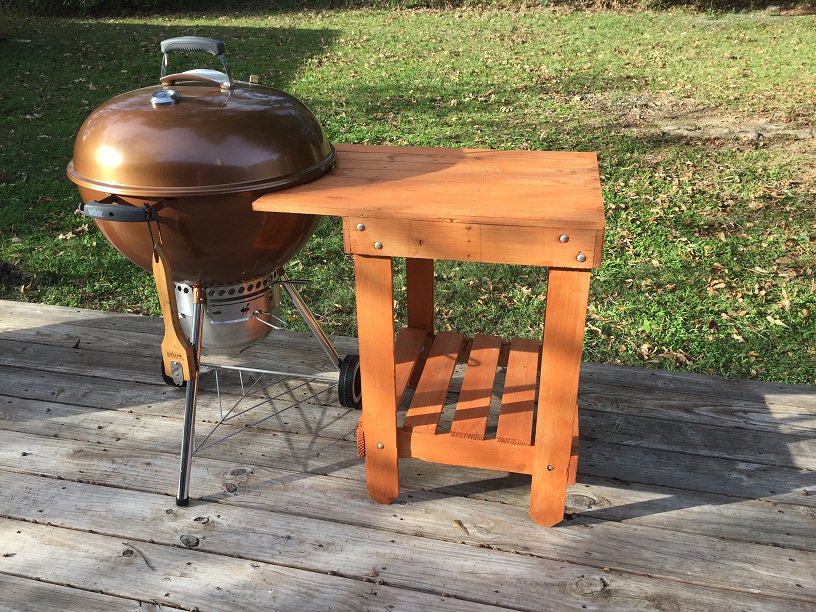
This is not the ONLY way.
This is not the BEST way.
This is the way that you should start learning because it is simple, reproducible and effective.
The three key steps for using your kettle as a smoker are:
- Adjust Your Air Vents
- Smoke With Indirect Heat
- Don’t Try to be Perfect
Let’s examine each step in more detail.
Adjust The Air Vents on the Kettle
What makes a Weber kettle an amazing smoker is the ability to control the air flow through the grill. When you can control the amount of air that is going through the grill then you have a pretty good handle on controlling the temperature.
Bottom Vent Setting
Use the lever of the One Touch Cleaning System to adjust the bottom vents until they are ALMOST closed. The openings on the bottom air vents should look about like this:
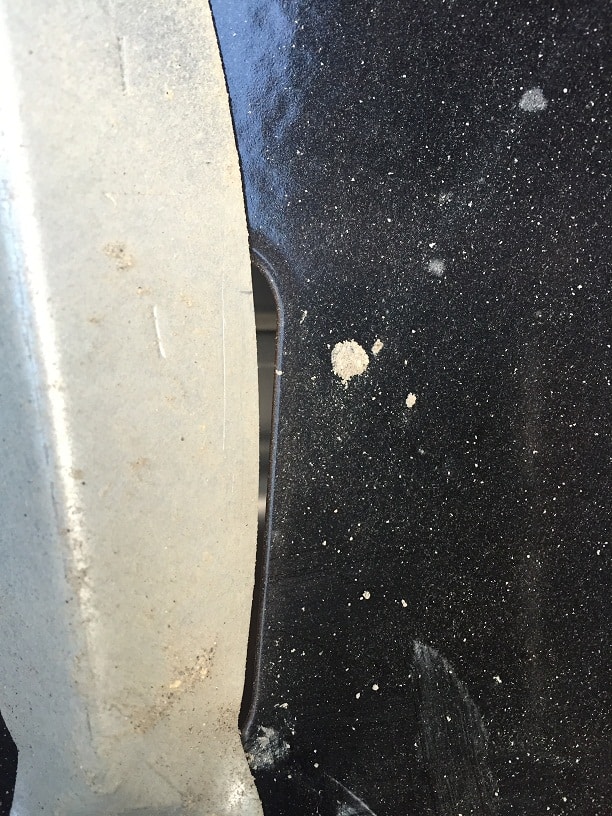
Many of the newer kettles will have markings on the Ash Catcher to indicate whether the bottom vents are opened or closed. The first few times you do this it is best to visually determine the vent settings just to make sure you have it set correctly.
By keeping the bottom vents mostly closed we are limiting how much air can enter the kettle would should result in a smaller, cooler burning fire.
Top Air Vent Settings
There are two important steps to configuring the top air vent located in the lid of the grill.
- The first step is to make sure the top vent is completely open. This is going to help the small fire burn cleanly.
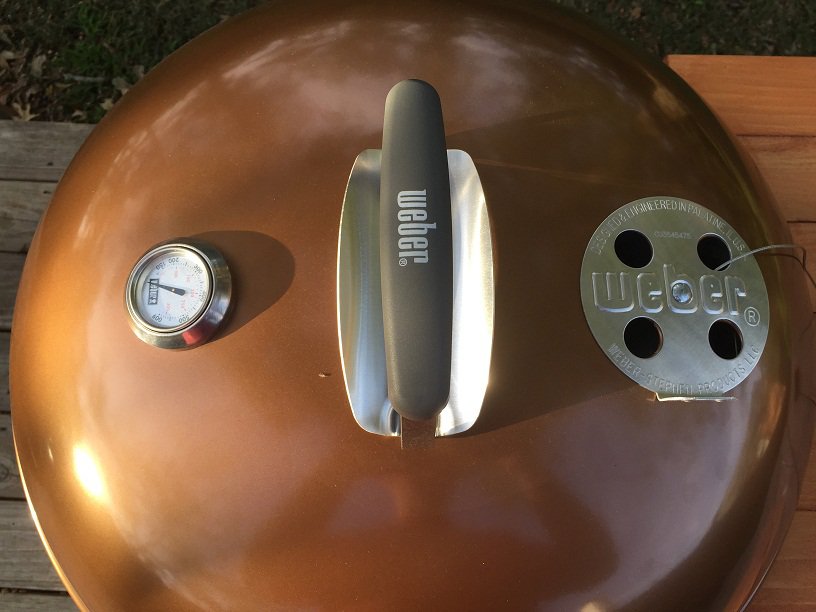
- The second step, which will make more sense after we get the charcoal lit, is to place the air vent on the OPPOSITE side of the grill from where we have the charcoal.
Smoke With Indirect Heat
This process involves maintaining a small fire on one side of the grill. The side of the grill with the fire will be called the “Hot Side”. The side of the grill away from the fire will be called the “Indirect Side”.
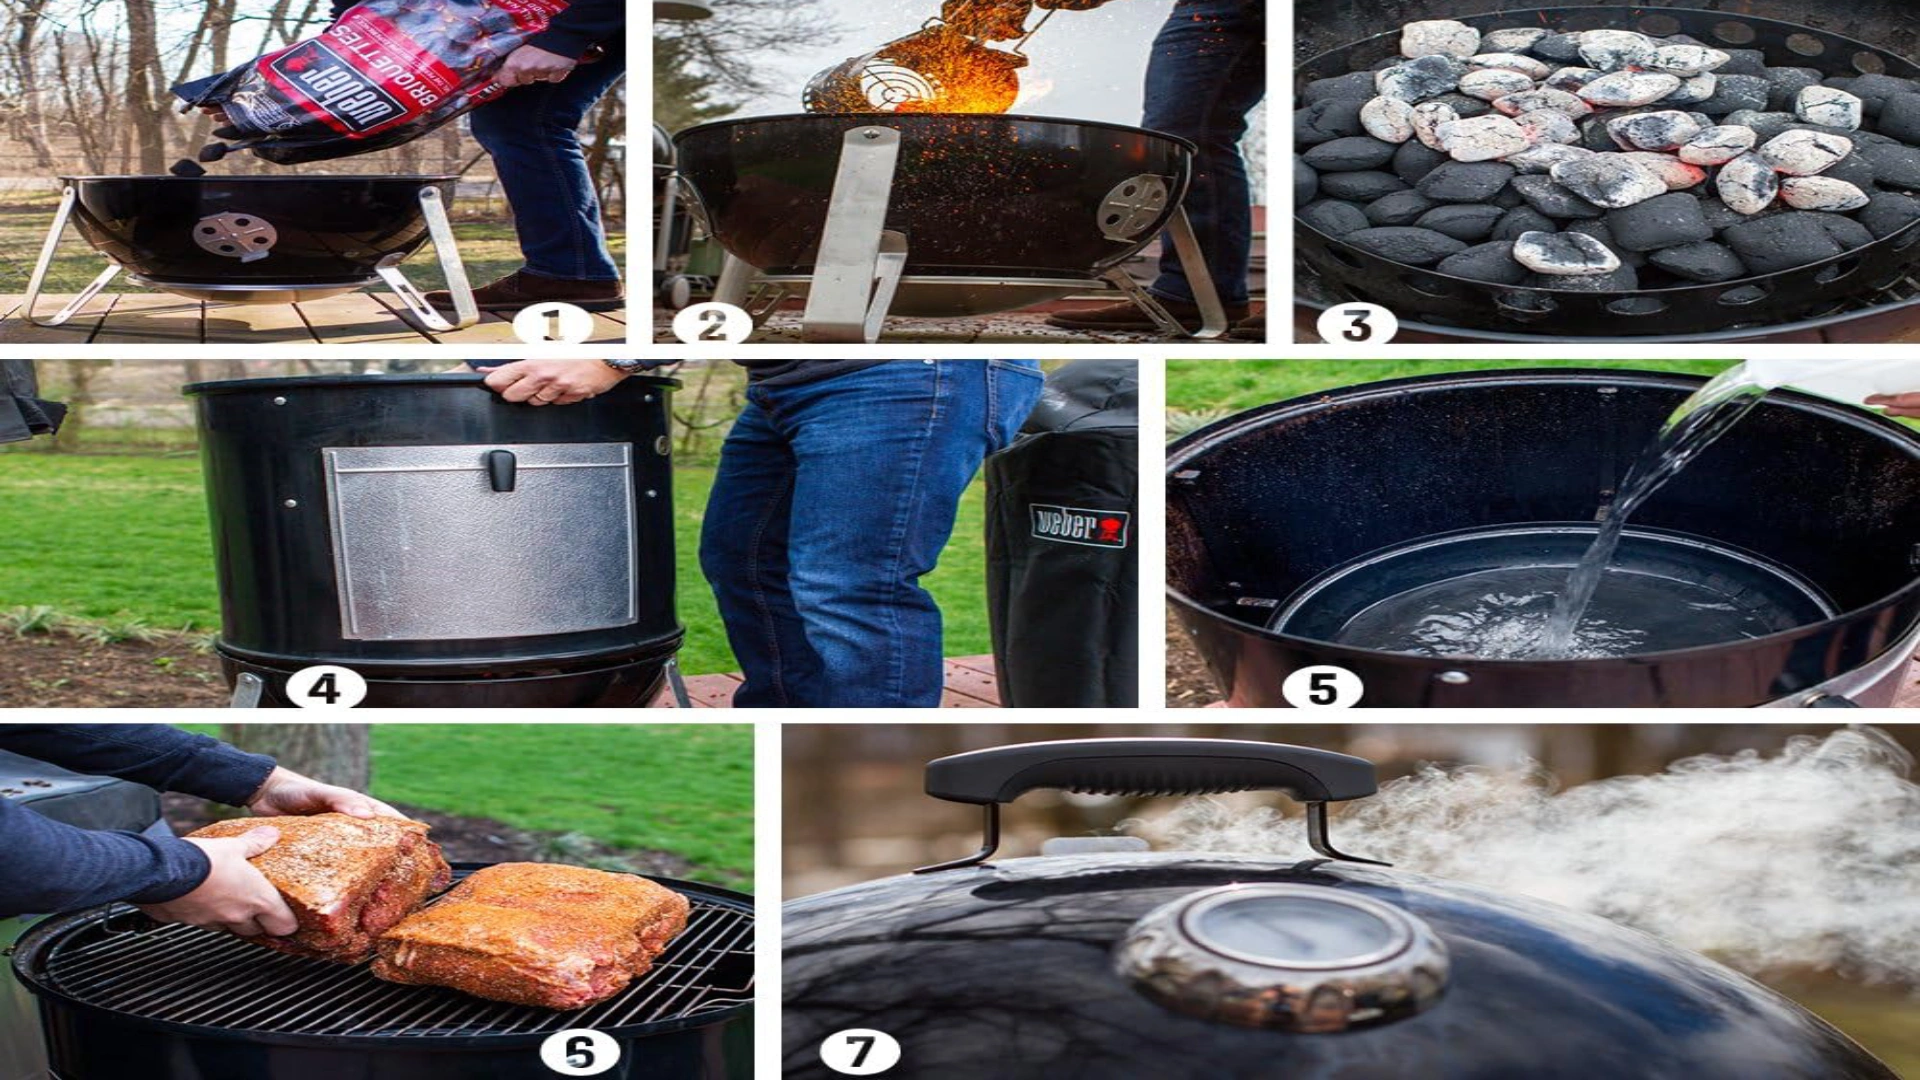
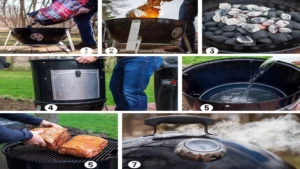
Start by placing a charcoal basket on the left side of the charcoal grate.
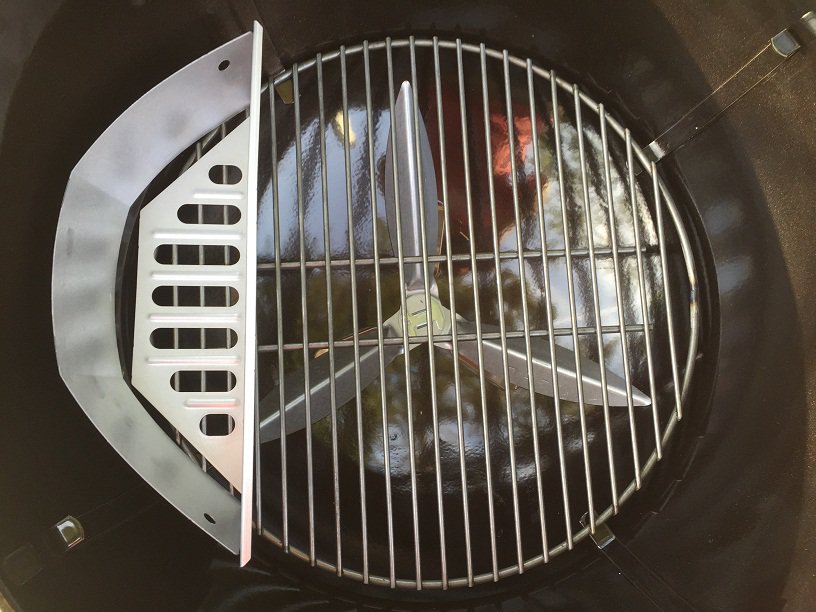
Fill the basket with charcoal (Kingsford Blue).
You can get about 35 Kingsford briquettes into a standard charcoal basket. If you don’t have a charcoal basket just make a bed of 35-40 briquettes on the side of the grill. Make sure they are spread out; you don’t want them all piled up on top of each other.
I use Weber starter cubes to get the charcoal lit. They come in a box of 24 and are super handy.
The starter cubes are essentially wax cubes that burn hot, clean and fast.
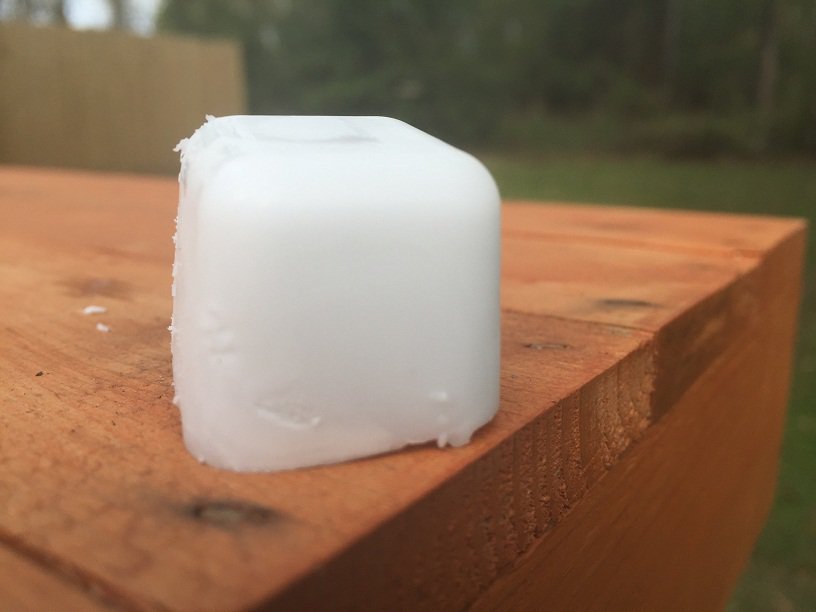
I place one starter cube in the charcoal basket and use it to light just a few briquettes.
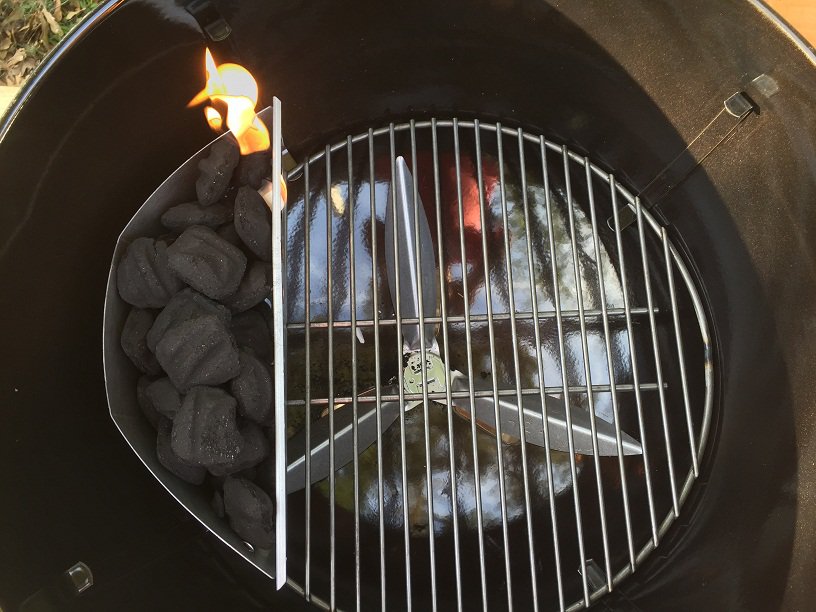
After about 10 minutes a few of the briquettes will have started to burn. Here is what it will look like:
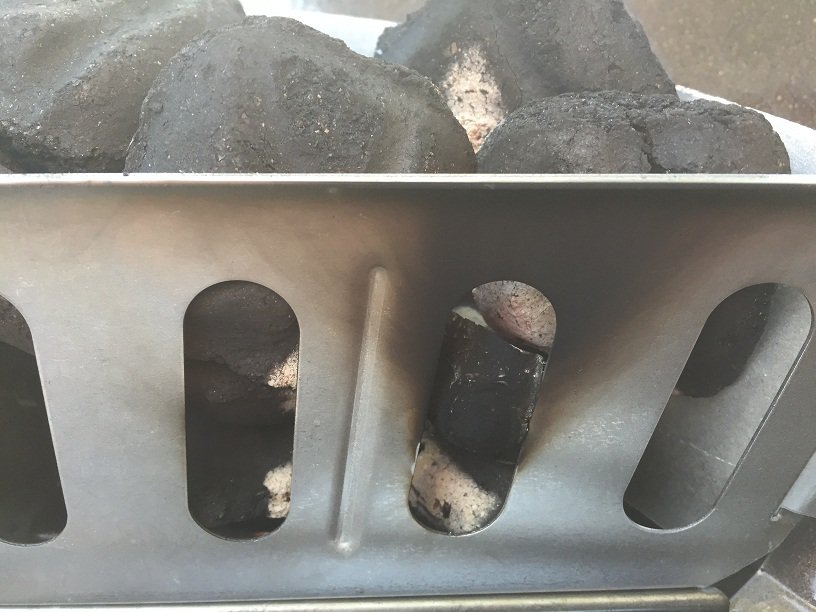
If you don’t want to use starter cubes then you can use a charcoal chimney to light two or three briquettes and then use a pair of metal tongs to place them on the side of the charcoal bed.
At this point I add some wood. I am using two chunks of hickory here.
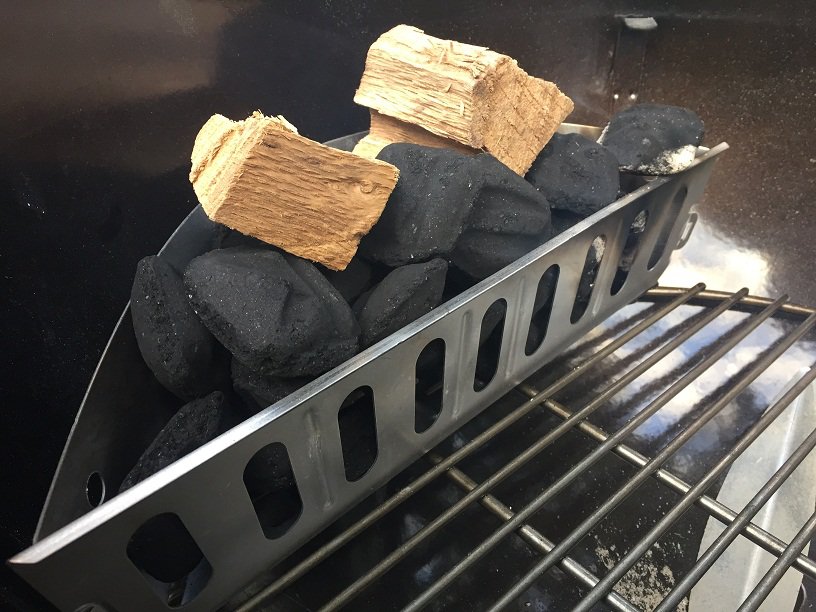
You are now ready to place your meat on the Indirect side of the grill, close the lid with the top air vent over the meat, and start using your kettle grill as a smoker!
Do Not Aim for Perfection
A huge part of using a kettle as a smoker is to not get obsessed over temperature.
Unless you are using some fancy electronic blowers and temperature gauges you are not going to maintain an exact temperature and that is okay!
For this demonstration I placed a digital thermometer on the right side of the grilling grate where I would normally place whatever I was smoking. The thermometer is supported by a piece of potato to keep it in one location and off of the cooking grate.
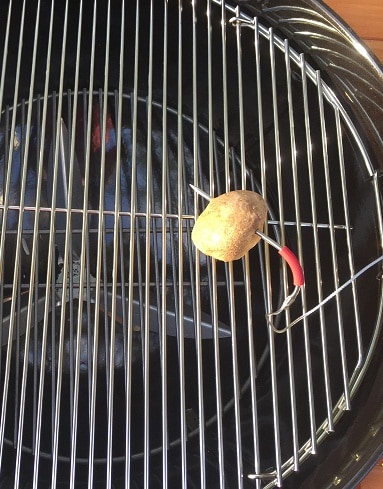
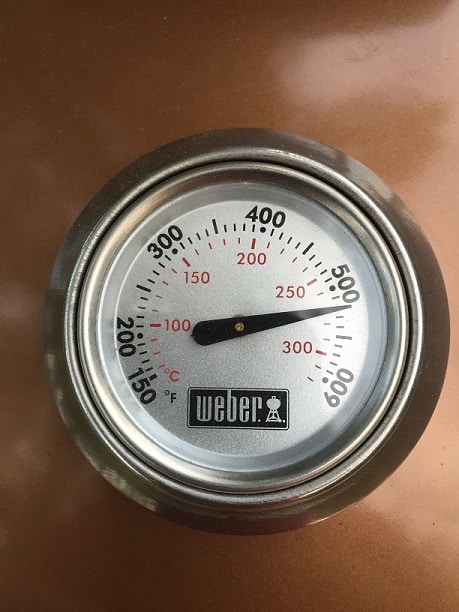
Because we have the top air vent over the Indirect Side of the grill the lid thermometer on the lid is DIRECTLY over the fire. The thermometer is going to tell you that the grill is REALLY hot.
Ignore the lid thermometer, over where you are smoking on the Indirect Side of the grill the temperature is just right!
Temperature Profiles
People bicker over the correct smoking temperature constantly. The reality is that some people make amazing barbecue at 225F and some people make amazing barbecue at 325F.
You can make amazing barbecue at any temperature between 225F and 325F as long as you know what you are doing. Don’t obsess over an exact temperature!
When it comes to temperature go for “just about right” instead of “absolute perfection”.
This technique is going to keep you in the perfect barbecue RANGE but the temperature is going to be changing.
Again, don’t obsess over an exact temperature!
Here is the temperature profile the potato was seeing inside the kettle.
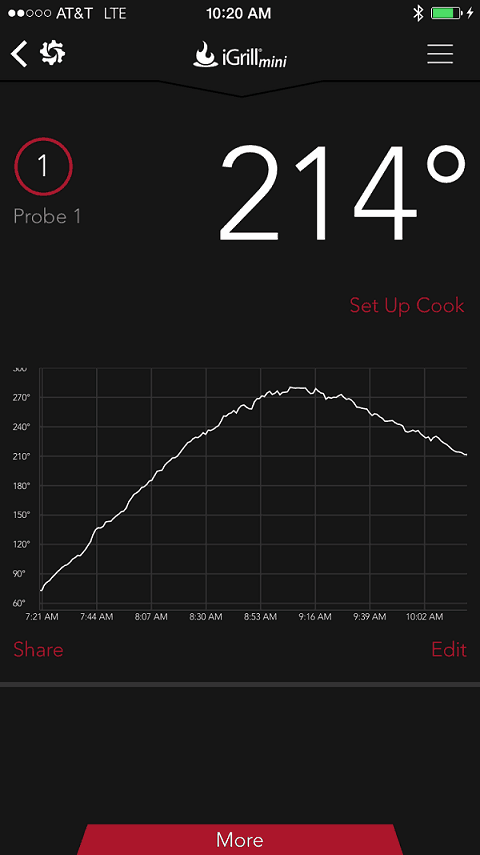
At 7:30 I put the lid on the kettle and by 8:15 the potato was seeing temps of 215F. That’s slow smoking barbecue territory!
By 9:00 the temperature rose to around 275F and then it started dropping off.
By 10:20 the temperature was back down to 214F.
Between 8:15 and 10:15 we had two solid hours of temperatures that were absolutely perfect for slow smoking barbecue!
Did the temperature fluctuate? Sure.
Do I care? Nope.
Once the temperature dropped into the 210F range I opened the lid. Here is how the charcoal looked.
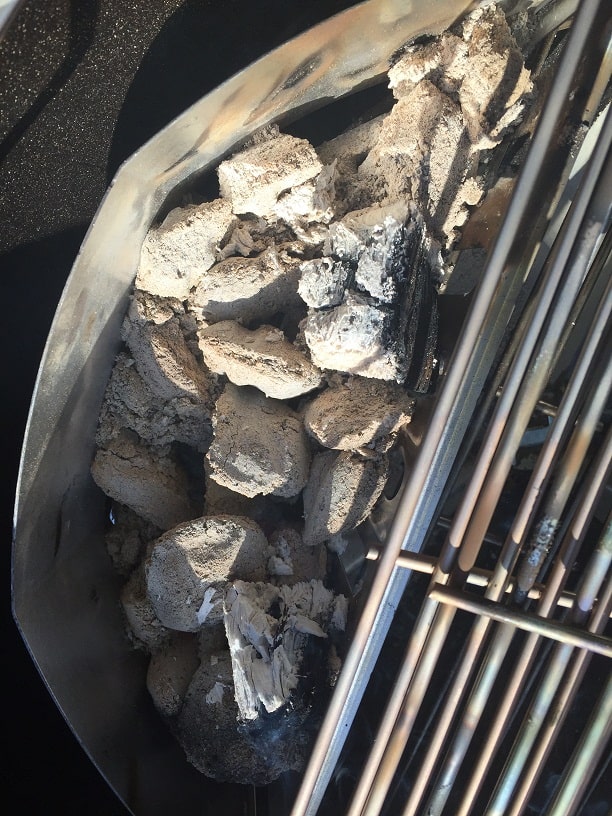
Use a pair of metal tongs to knock off the ash and arrange the remaining charcoal to one side of the basket.
Refill the basket with unlit briquettes and put the lid back on the kettle. By the way, having a hinged cooking grate on your kettle makes this part REALLY easy.
Here is the resulting temperature profile.
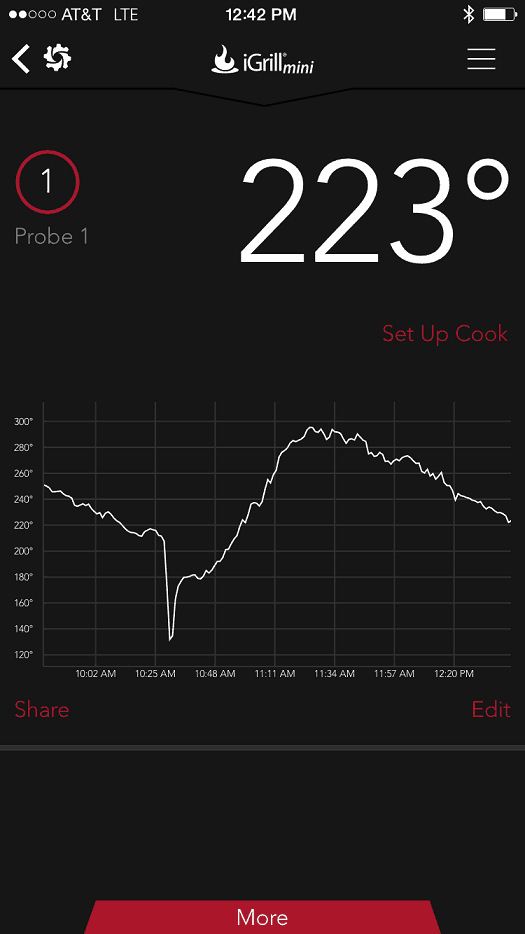
You can see I took the lid off and refreshed the charcoal around 10:20.
By 11:00 we were back up to 220F and were back in the barbecue zone.
The temperature briefly got up to 290F before dropping to to 223F at 12:45.
You can keep the cycle of refreshing the charcoal going for as long as you like.
This SIMPLE method gave us five solid hours of slow smoking temperatures.
Did we maintain exactly 245F for the entire time? No.
Were we using the “magic temperature” required for “perfect ribs”. No.
Do I care? Nope.
There are tricks and gadgets you can use to get a more stable temperature profile. Don’t worry about them right now.
What I just showed you is how I work my kettle for almost everything I smoke.
The temperature profiles I showed you are very typical for using this technique with a 22.5 inch kettle. The profile will be hotter if you are using an 18.5 inch kettle.
The technique is easy, reproducible and is the perfect way to start learning how to barbecue!
What Meats Can You Smoke in a Kettle?
You can use the method I just showed you to smoke small cuts of meat like Country Style Ribs or Tri Tip Steaks on a single basket of charcoal.
Here are the instructions for:
You can also do larger cuts like baby back ribs, pork butts and briskets. These cuts will take much longer to cook and you will need to replenish the charcoal baskets several times.
Here are the instructions for:


51 comments