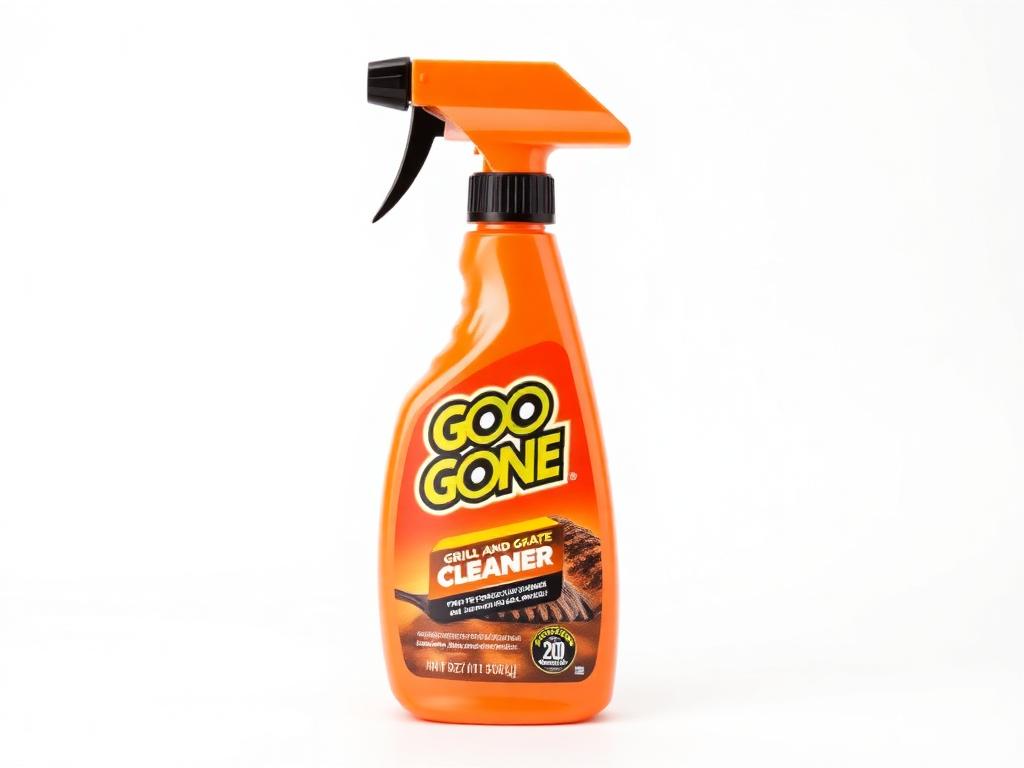
 TOP PICK
Bristle-Free Grill Brush
Best for: safe weekly grate cleaning without loose wire bristles.
Check current price
Check Price on AmazonGrill Cleaning Guide
Learning how to clean a grill the right way protects your food, your fuel system, and the metal itself. Burn off loose residue, let the grill cool, disconnect fuel if needed, remove and clean the grates, scrape the cookbox, empty grease trays, wipe the exterior, dry everything, then oil cast iron or bare steel before the next cook.
Built for gas, charcoal, pellet, Weber, Traeger, Blackstone, stainless steel, cast iron, and everyday backyard grills.
10 to 15 min
45 to 90 min
After cooking
Cool, disconnect, no loose bristles
The pillar guide
Gas, charcoal, pellet, flat-top — one process
Quick answer · 60 seconds
For most grills, the best way to clean a grill is to heat it briefly to loosen residue, shut it down safely, let it cool, disconnect fuel or power for deep cleaning, remove the grates, clean the grates by material, scrape the cookbox, empty the grease tray or ash catcher, wipe the exterior, dry everything fully, then oil cast iron or bare steel grates before storage.
The exact steps shift slightly depending on the grill: how to clean a gas grill centers on heat plates and the grease tray, how to clean a charcoal grill is mostly ash management, how to clean a pellet grill (or Traeger) revolves around the firepot and grease bucket, how to clean a Blackstone grill is really seasoning maintenance, and how to clean a Weber grill follows the standard gas/charcoal process with model-specific Flavorizer bars and grease trays.
Maintenance schedule
Cleaning frequency is the single biggest predictor of how long a grill lasts. A grease tray emptied every few cooks rarely warps. A cookbox that gets a monthly carbon brush rarely flares up. Use this schedule as a baseline.
| Frequency | What to clean | Why it matters |
|---|---|---|
| After every cook | Quick grate scrape, check for loose debris | Removes carbon while still soft and warm |
| Every 3 to 5 cooks | Empty grease tray or cup, wipe side shelves | Prevents flare-ups and grease fires |
| Monthly in season | Heat plates, burners, cookbox, exterior | Keeps flame even and heat consistent |
| Start & end of season | Full deep clean and parts inspection | Catches rust before it spreads |
| After a grease fire | Full grease system, inspect parts before reuse | See grill flare-up fix |
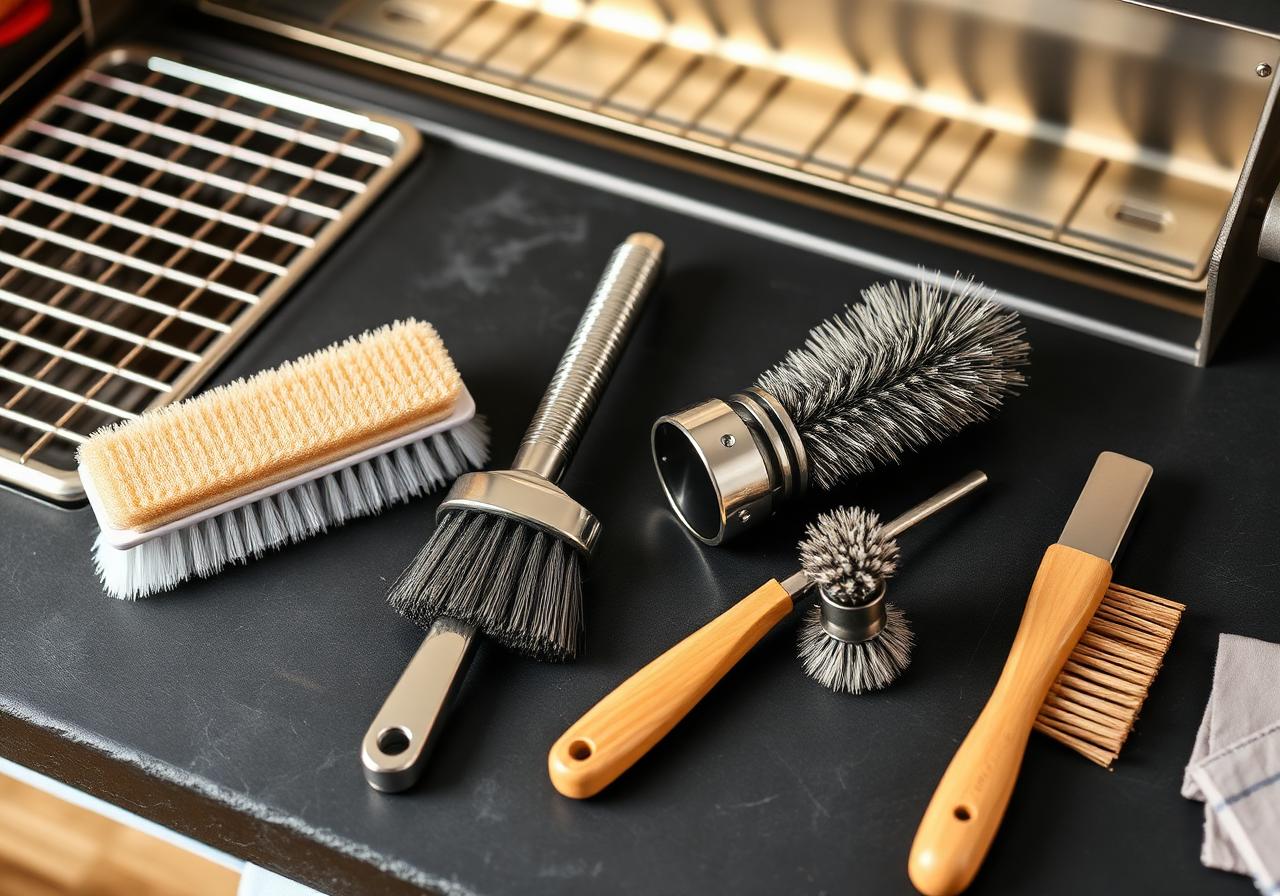
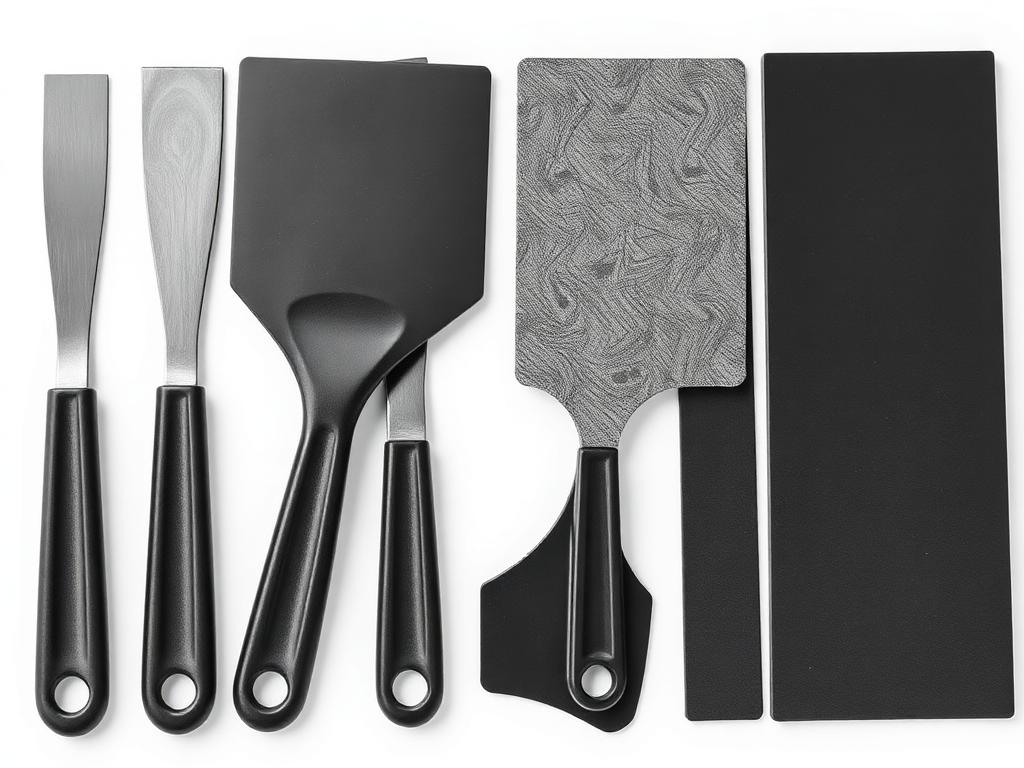
Tools & supplies
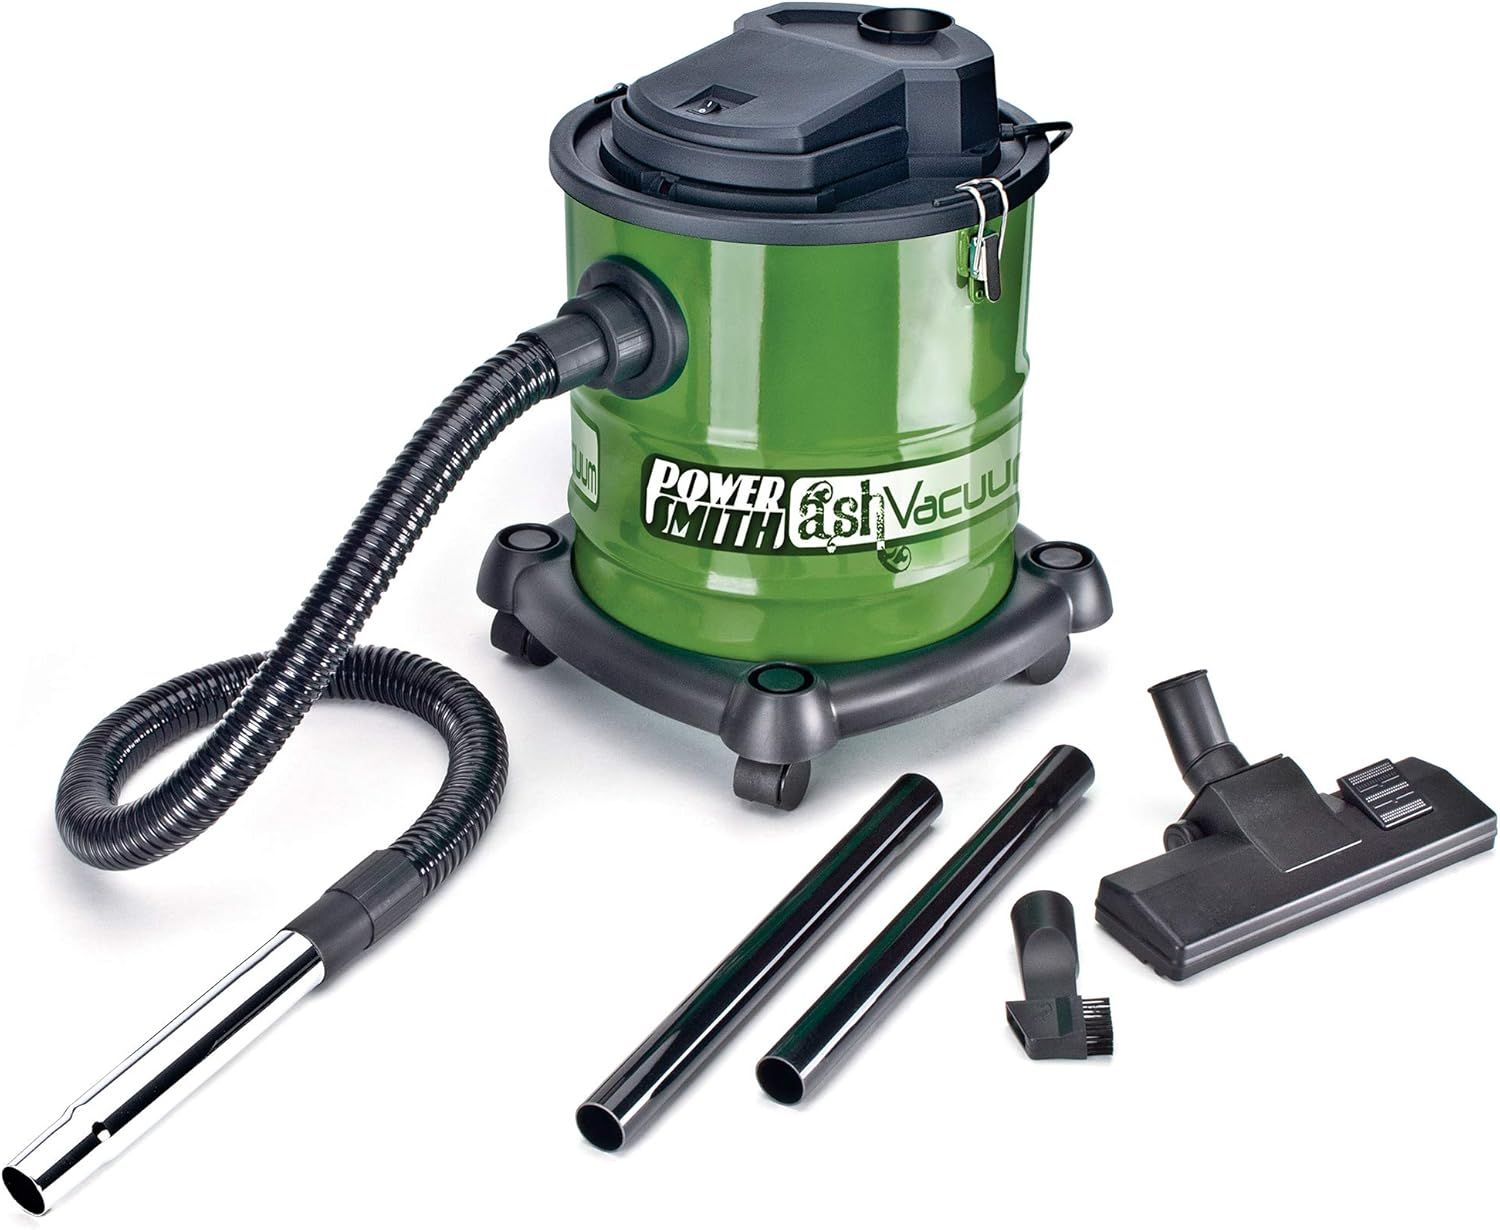
You do not need a closet full of specialty products. A bristle-free brush or grill stone, a plastic scraper, a microfiber cloth, and one food-safe degreaser handle roughly 90 percent of cleaning jobs. Add an ash vacuum if you run a pellet or charcoal grill regularly.
Read this first
Cleaning a grill safely is mostly a matter of order: temperature down, fuel off, power off, then chemicals. Skip any of those and the cleaning job stops being routine maintenance.
The 10-step process
This sequence works for gas, charcoal, and pellet grills with small adjustments noted in each fuel-specific section below. Read the full sequence first, then work top to bottom so debris falls onto surfaces you have not yet cleaned.
Pro tip: Lid closed traps the heat where you need it.
Pro tip: A deep utility sink saves your back.
Pro tip: The dark coating on the lid is cured smoke, not paint.
Pro tip: Bare steel rusts overnight if it stays wet.
Grate cleaning
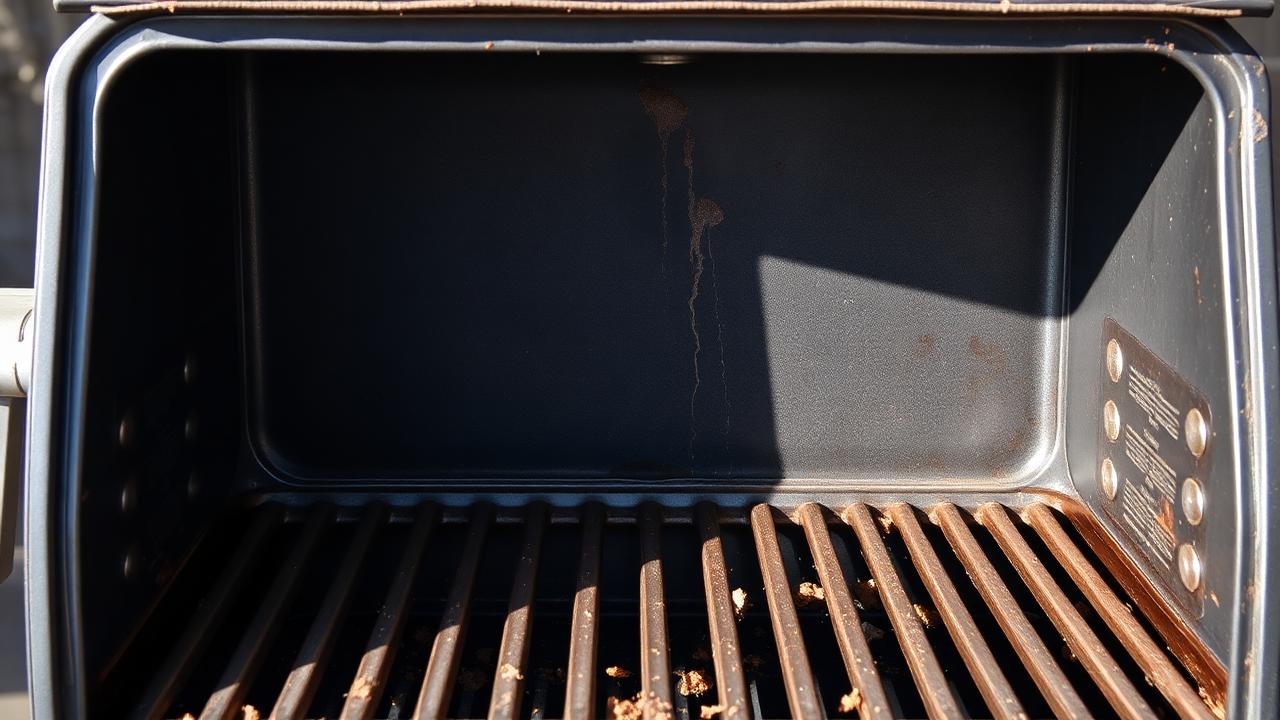
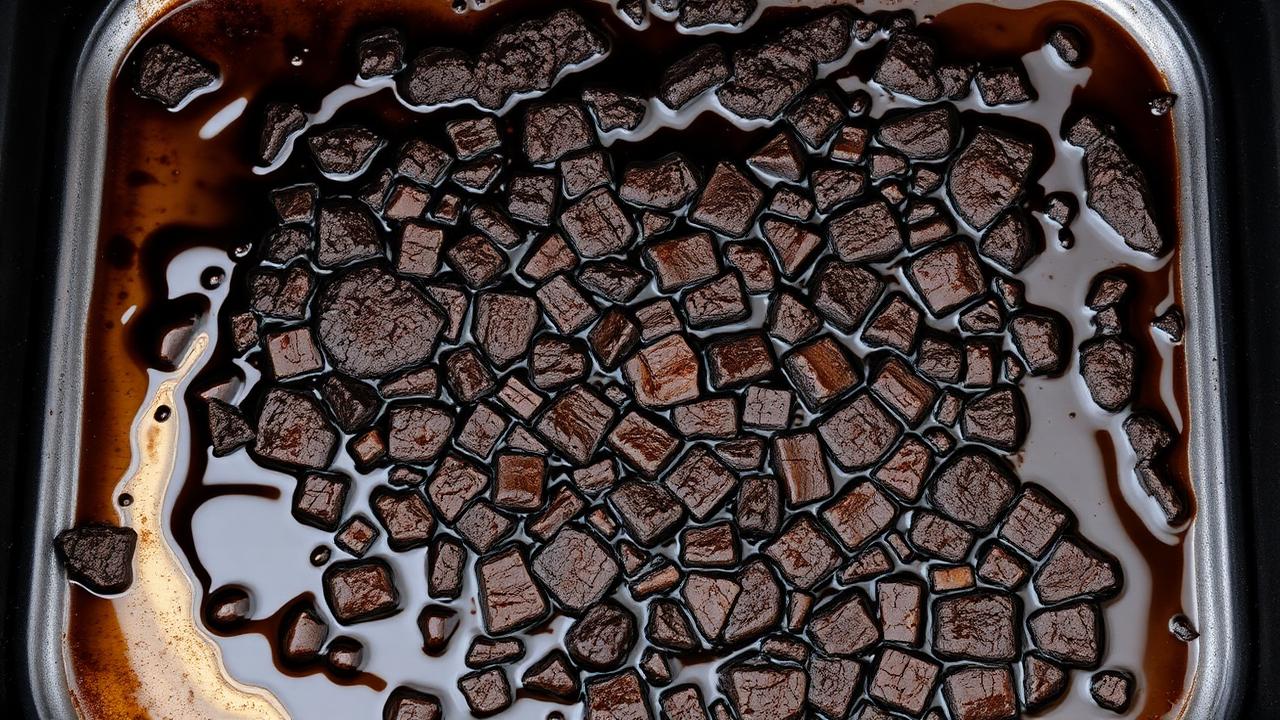
Grates do most of the visible work, so they collect most of the visible mess. The best way to clean grill grates depends entirely on what the grate is made of. Using the wrong method on porcelain or polished stainless will damage the surface in one cleaning.

Heat to loosen residue, then scrub with a bristle-free brush or stainless-safe pad. For deep cleaning, soak in warm water with dish soap and baking soda for 30 minutes, scrub, rinse, and dry. Avoid chloride bleach because it pits stainless permanently.
Scrape while warm. Avoid soap on seasoned cast iron because it strips the polymerized oil layer. For stuck residue, use coarse salt and a damp cloth, rinse, dry on the burner, then wipe with a thin layer of high smoke point oil. See stainless vs cast iron grates.
Use a soft nylon brush only. Steel and brass bristles chip the porcelain coating, and once chipped the underlying steel rusts fast. Soak with warm soapy water for tough residue. Never use abrasive pads on porcelain.
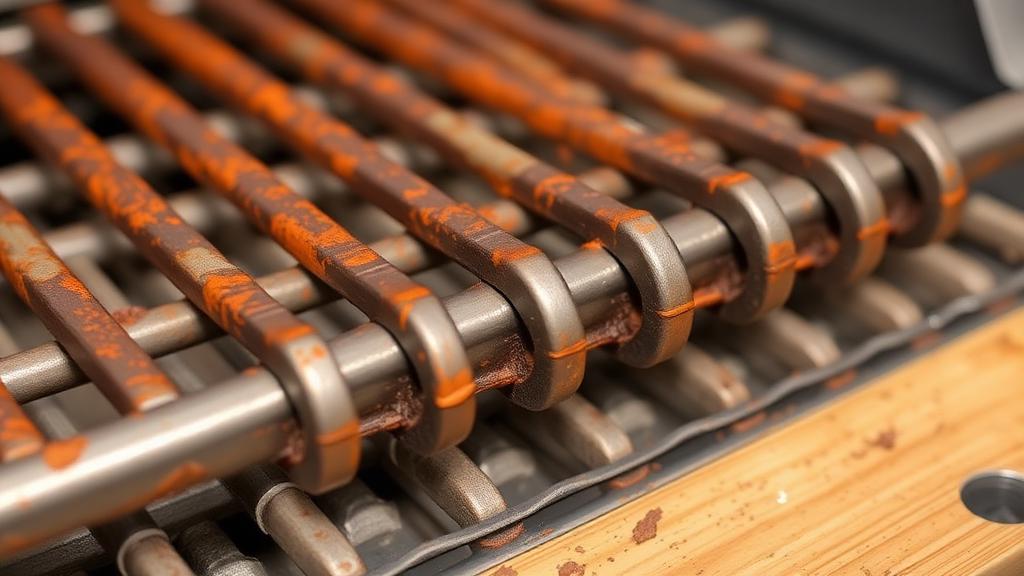
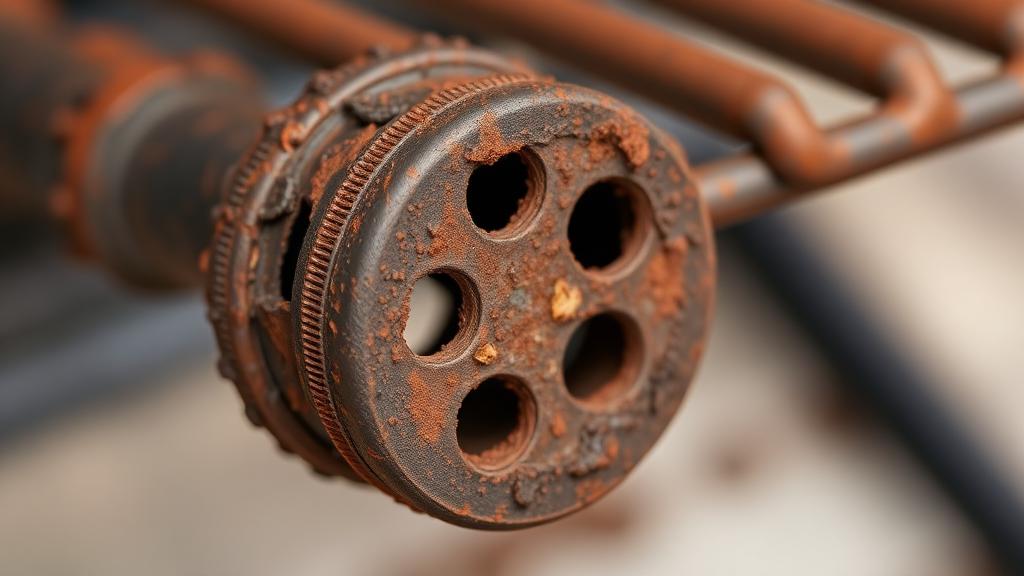
Surface rust is recoverable. Deep rust through the bar is not. See our full guide on how to clean rusty grill grates for vinegar soak ratios, scrub technique, and when to replace.
Heat the grill on high for 15 minutes with the lid closed, then scrape. If the residue is still sticky, the grates are sweating with cool grease. Let them heat longer.
Use a bristle-free brush, a grill stone, a wood scraper grooved to your grates, balled up aluminum foil held with tongs, or a nylon brush on cool grates. See best grill brushes for safe options.
Gas grills
A gas grill rewards routine cleaning more than any other type. Most flame, ignition, and heat complaints trace back to dirty heat plates, blocked burner ports, or a grease tray that should have been emptied weeks ago.
Charcoal grills
Charcoal grills are mechanically simple, which makes ash management the whole game. Wet ash sitting in the bowl is the single fastest way to rust through a kettle from the inside out.
Pellet grills
Pellet grills add electronics and an auger to the equation, so the cleaning rules tighten. Water and pellet hoppers do not mix. Vacuums and hot ash do not mix either.
Flat-top grills
Flat tops are not really grills, they are seasoned cooking surfaces. Treat the steel top like a giant cast iron pan and you will be fine. Soap and aggressive scrubbing will strip the seasoning every time.
Unlike normal grates, a flat top depends on its seasoning layer for both nonstick performance and rust protection. Plan to re-oil after every cook.
Weber grills
Weber grills follow the standard fuel-type process with a few brand-specific notes. Knowing your model number first makes part-specific cleaning and replacement much easier.
Pantry methods
Pantry-based cleaning works well for light to moderate residue and avoids putting chemical residue near food surfaces. Heavy grease, deep rust, and old carbon usually still need a dedicated cleaner.
Avoid these
| Tool or product | Use or avoid | Why |
|---|---|---|
| Bleach | Avoid | Pits stainless, unsafe near food, toxic with vinegar. |
| Harsh oven cleaner | Caution | Only if label specifically lists grill use and material is compatible. |
| Loose wire brush | Avoid | Loose bristles can stick to grates and food. |
| Pressure washer | Avoid | Forces water into burners, electronics, and gas valves. |
| Dishwasher | Avoid | Strips cast iron seasoning, damages many coatings. |
| Steel wool on porcelain | Avoid | Scratches porcelain enamel and polished stainless. |
| Too much oil | Caution | Pools, smokes, and triggers flare-ups on the next cook. |
| Cleaner near burners | Avoid | Damages igniters, valves, and electronic components. |
Exterior care
The exterior is mostly cosmetic, but it is also what makes the grill look cared for. Wipe with the grain, use the right cleaner for the finish, and never spray the control panel directly.
When cleaning is not enough
Cleaning extends part life, but every grill component has a useful life. If any of these conditions apply, no amount of scrubbing will restore safe performance.
Avoid these
Most ruined grates, holed Flavorizer bars, and rusted-through bowls do not come from age, they come from cleaning mistakes. These are the eight most common ways a well-meaning cleanup quietly shortens a grill’s life.
| Mistake | What it damages | Do this instead |
|---|---|---|
| Harsh oven cleaner on coated or aluminum parts | Pits aluminum, strips porcelain, eats painted finishes. | Use a cleaner whose label specifically lists grill use, or stick to dish soap and baking soda. See heat shields and plates. |
| Leaving wet ash inside a charcoal grill | Rusts the bowl from the inside out within a single damp week. | Empty the ash catcher cold into a metal container, then dry the bowl before covering. |
| Spraying water into a pellet grill hopper or electronics | Swells pellets into a brick, kills the controller, can ruin the auger. | Vacuum the firepot, wipe with a damp (not wet) cloth, and keep liquids out of the hopper. |
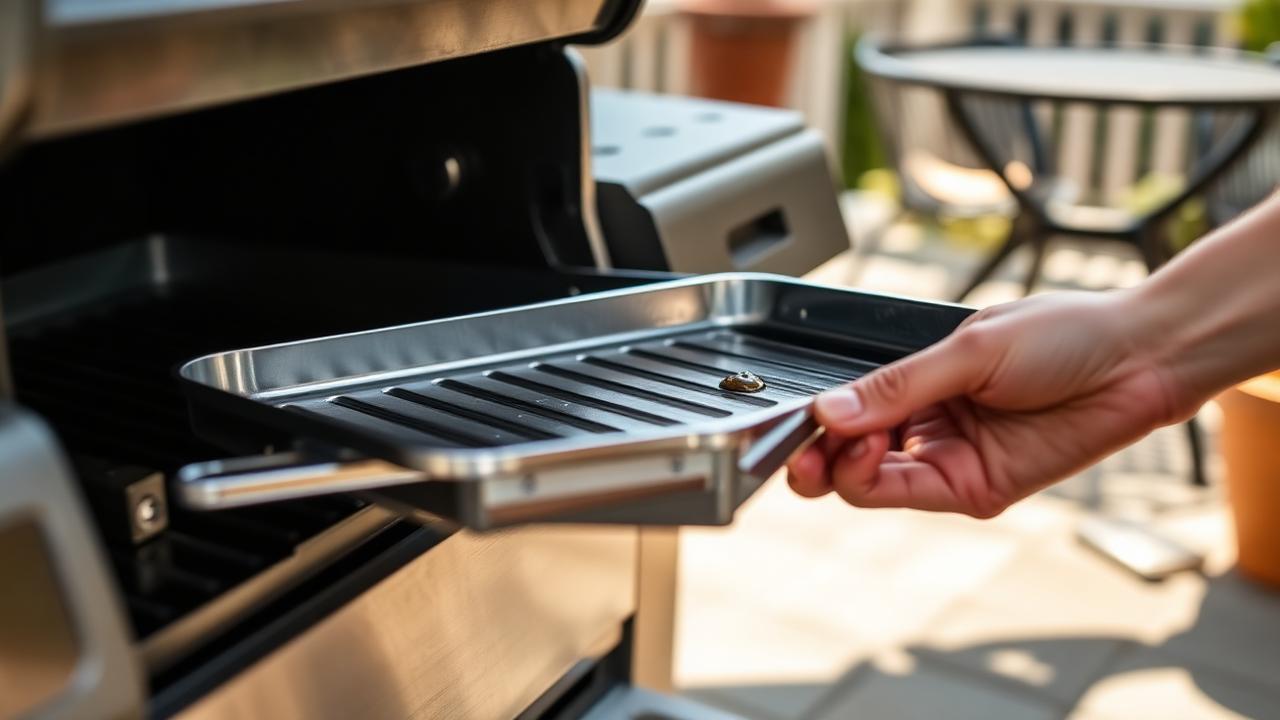
| Ignoring grease tray buildup | Sets up flare-ups, attracts pests, and warps the tray. | Empty every 3 to 5 cooks. Full guide: how to clean a grill grease trap. |
| Scrubbing porcelain grates too aggressively | Chips the porcelain coating; the underlying steel rusts fast. | Soft nylon brush only on warm grates. See rusty grill grates for triage. |
| Reusing a damaged wire brush | Sheds bristles that lodge in food and grates. | Inspect bristles before each cook; replace at the first sign of bend or loss. |
| Covering the grill before it is fully dry | Traps moisture against bare steel and cast iron, accelerating rust. | Air-dry fully, then use a breathable cover. See best grill cover. |
| Oiling grates too heavily before storage | Pools, goes rancid, and triggers flare-ups on the next cook. | Wipe a thin layer of high smoke-point oil with a paper towel; if it looks shiny, it’s too much. See when to replace Flavorizer bars. |
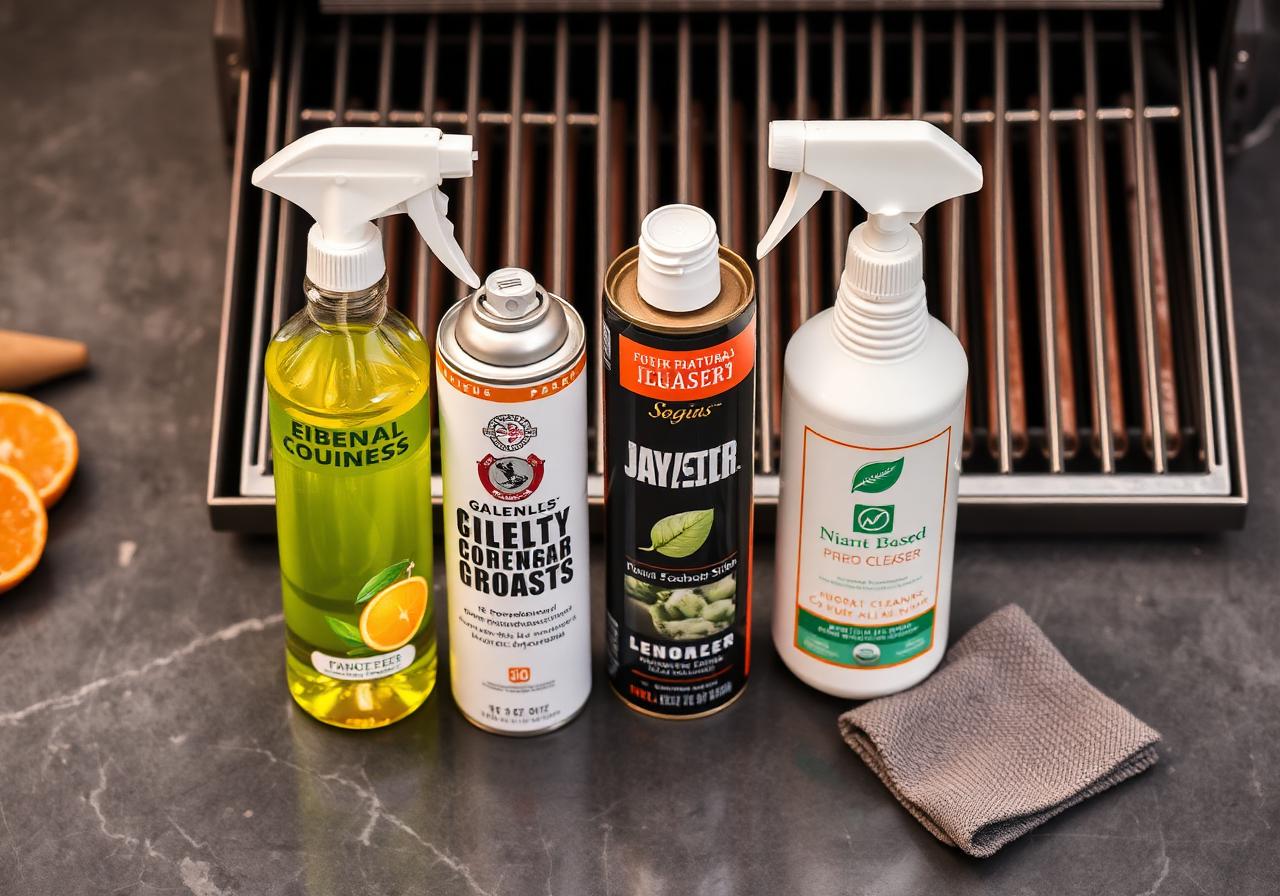
Recommended kit
These are not all mandatory. For most grill owners, a bristle-free scraper, a safe cleaner, grease liners, and a few microfiber towels cover 80% of cleaning jobs. Reach for the rest only when a deep clean, ash, or exterior polish calls for it. See our deeper picks in best grill cleaner and best grill brushes.
The basics for a fast post-cook wipe-down on any grill.
TOP PICKBest for: safe weekly grate cleaning without loose wire bristles.
Best for: cookbox walls, heat tents, and grease channels between deep cleans.
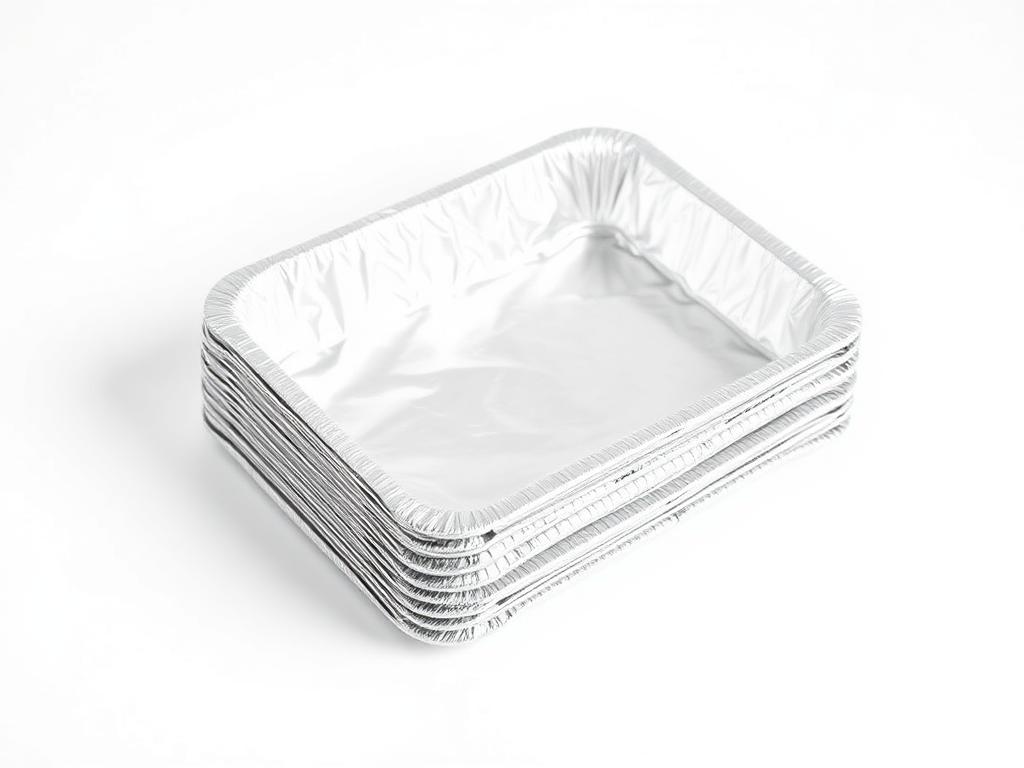 BEST VALUE
Best for: weekly grease pan swaps that lift out clean in seconds.
Heavier-duty options for monthly and end-of-season deep cleans.
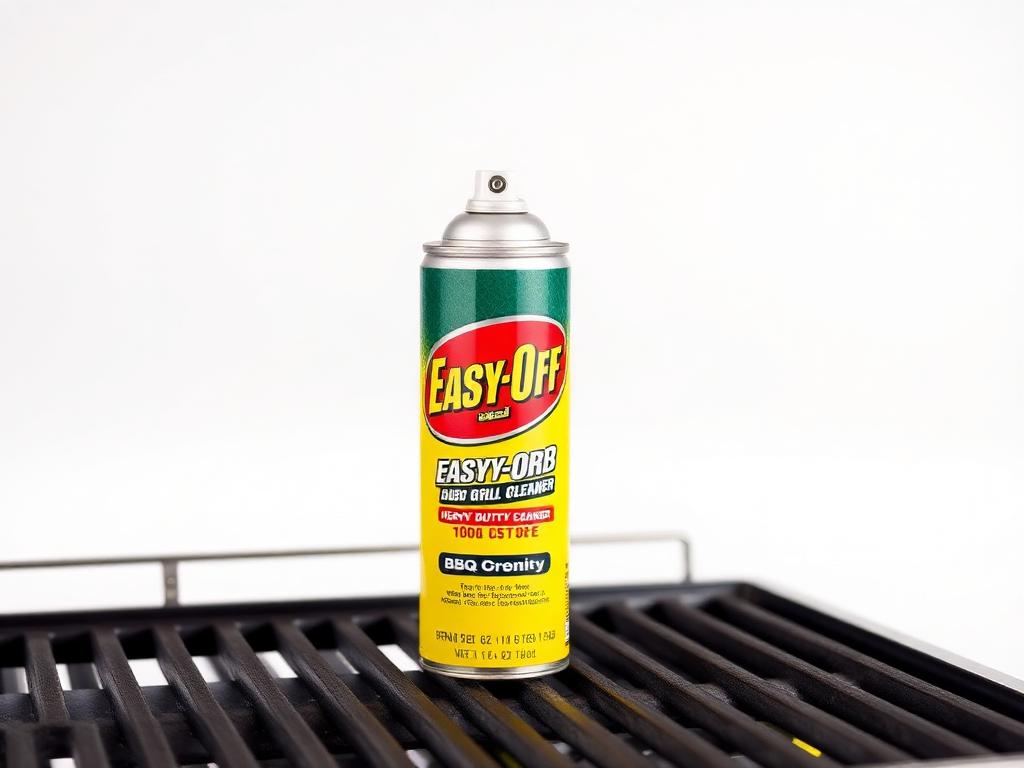
Best for: lifting caked carbon off grates, flavorizer bars, and heat plates.
Best for: citrus-based grease cutting on grates and stainless exteriors.
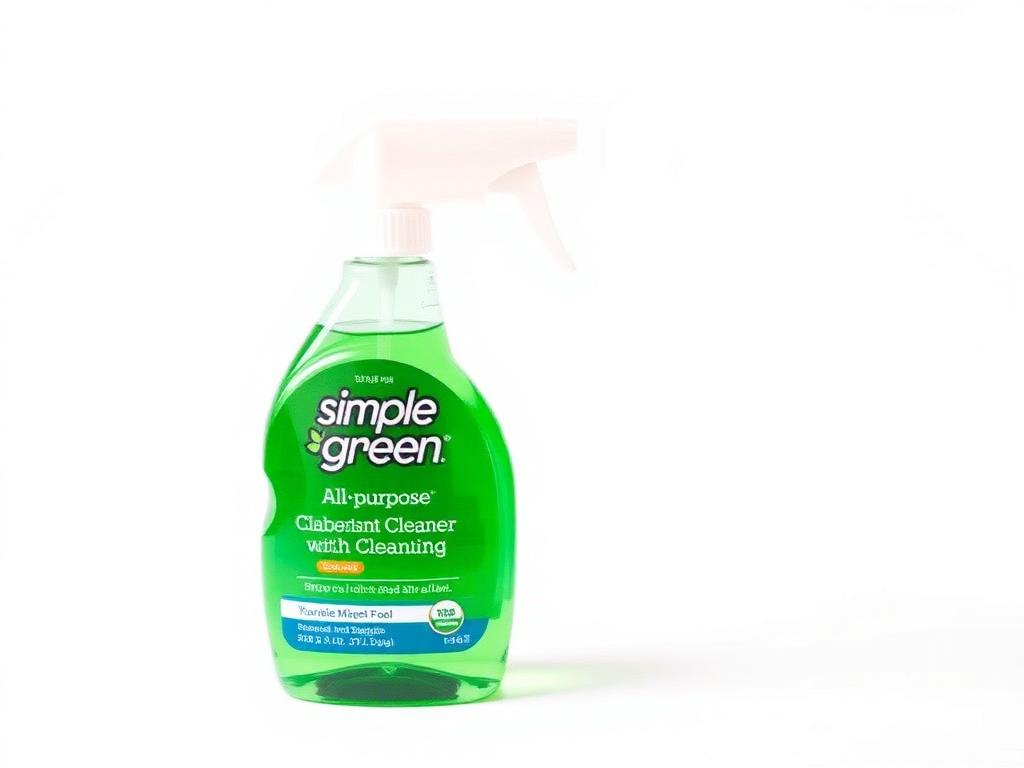
Best for: non-toxic degreasing of cookboxes, side tables, and side shelves.
Specialty tools for ash, deck protection, and stainless polish.
Best for: safely clearing pellet firepots and charcoal ash catchers.
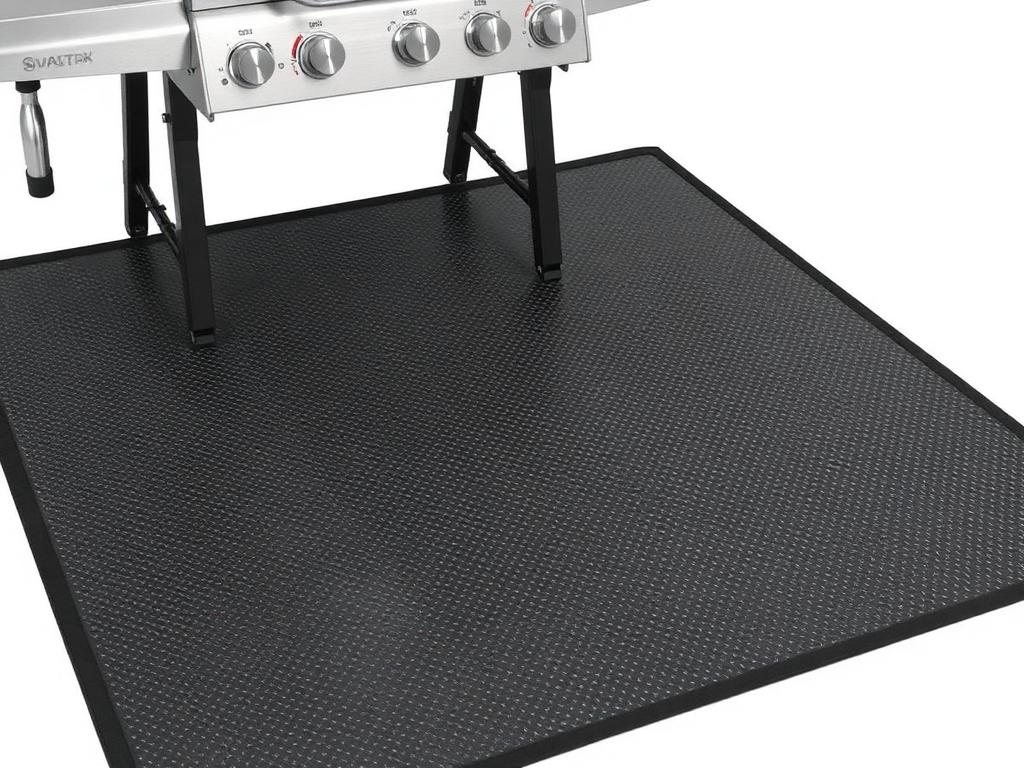
Best for: protecting decks and patios from grease drips during cleaning.
Best for: streak-free polish on lids, side shelves, and exteriors.
Keep reading
Cleaning
Best grill cleaner
Compare citrus sprays, heavy-duty degreasers, and food-safe options head to head.
Read guideCleaning
Best grill brushes
Bristle-free, nylon, scraper, and steam-cleaning brush picks ranked.
Read guideReviews
Giddy Up grill cleaner review
In-depth review of one of the most popular foaming grill cleaners.
Read guideGrease
How to clean a grill grease trap
Grease trays, drip pans, grease cups, and post-grease-fire cleanup.
Read guideGrates
How to clean rusty grill grates
When to scrub, soak, season, or replace rusty grates.
Read guideTroubleshooting
How to stop grill flare-ups
Grease, heat plates, fatty foods, and burner protection explained.
Read guideParts
Grill heat shields and plates
When dirty or rusted heat plates cause uneven heat across the cookbox.
Read guideTroubleshooting
Gas grill won't get hot
Regulator, burner, and obstruction troubleshooting that often starts with cleaning.
Read guideTroubleshooting
Grill igniter not working
Battery, electrode, wire, and ignition module checks.
Read guideWeber
When to replace Flavorizer bars
Rust, holes, warping, and Weber fit guidance for replacement.
Read guideProtection
Best grill cover
Protect a clean grill from rain, dust, pollen, and surface rust.
Read guidePeople also ask
The best way to clean a grill is to burn off residue on high for 10 to 15 minutes, let the grill cool to warm, remove the grates, scrub them based on the grate material, scrape the cookbox and heat plates, empty the grease tray or ash catcher, wipe the exterior, dry every surface, then lightly oil cast iron or bare steel grates before the next cook.
Do a quick grate scrape after every cook, empty the grease tray every 3 to 5 cooks, do a deeper interior clean monthly during grilling season, and do a full deep clean at the start and end of each season. Always clean immediately after a flare-up or grease fire and inspect the parts before the next cook.
Heat the grates for 10 to 15 minutes to loosen residue, then scrape them with a bristle-free brush or grill stone. For deep cleaning, soak removable grates in warm water with dish soap and baking soda, scrub, rinse, dry fully, and oil cast iron grates before storing.
Turn off the gas and disconnect the propane tank for deep cleaning. Remove the grates and clean them. Lift the heat tents or flavorizer bars and scrape both sides. Brush carbon out of the cookbox toward the grease channel. Empty the grease tray. Wipe the exterior. Dry everything before relighting.
Let the ash cool completely, then empty the ash catcher into a metal container. Brush or scrape the grates and the inside of the bowl. Wipe the lid interior if carbon flakes are loose. Check that the vents move freely. Never let wet ash sit in the bowl because it accelerates rust.
Unplug the grill. Remove the grates, drip tray, and heat baffle. Vacuum ash from the firepot using an ash vacuum, not a regular shop vac. Replace the foil on the drip tray. Wipe the temperature probe gently. Empty the grease bucket. Avoid spraying water inside the hopper or near the controller.
Follow the standard pellet grill process: unplug, vacuum the firepot, replace the drip tray foil, empty the grease bucket, and wipe down the interior. If your Traeger shows a Clean Grease Trap alert or other error code, address that before storing the grill.
Scrape the flat top while it is still warm using a metal scraper. Wipe off residue with paper towels. For tougher buildup, pour a small amount of water on the warm surface and scrape, then dry immediately. Apply a thin layer of cooking oil to maintain the seasoning. Empty the rear or side grease cup.
Yes, an onion cut in half and rubbed across hot grates will loosen light residue and add a small amount of moisture for steam. It works for a quick wipe but is not a substitute for a proper deep clean when grease and carbon have built up.
Use a bristle-free grill brush, a grill stone, a wood scraper that grooves to your grates, a balled up piece of aluminum foil held with tongs, or a nylon brush on cool grates. For removable grates, soak in warm water with dish soap and baking soda, then scrub with a non-metallic pad.
Avoid bleach, harsh oven cleaner on aluminum or porcelain unless the label allows grill use, abrasive steel wool on porcelain or polished stainless, pressure washers near burners and electronics, and a dishwasher for cast iron or coated grates. Be careful with metal wire brushes because loose bristles can stick to grates or food.
Oil cast iron and bare steel grates with a high smoke point oil after cleaning to prevent rust and reduce sticking. Stainless steel and porcelain-coated grates do not require oiling on the grate itself, though a light wipe of oil on food before grilling helps with sticking.
Only use oven cleaner products that specifically state they are safe for grill use, and only on compatible materials. Many oven cleaners damage aluminum, porcelain enamel, painted finishes, and some coatings. Always rinse thoroughly and never spray near burner ports or electronic ignition.
Wipe with the grain using a microfiber cloth and a stainless steel cleaner or warm soapy water. For fingerprints and smudges, a small amount of stainless polish goes a long way. Do not use abrasive pads, bleach, or chloride-based cleaners because they can pit and stain stainless.
Replace grates when rust has eaten through bars or the porcelain coating is broadly missing, replace flavorizer bars or heat plates when they have holes, replace burners when seams have split or flames are uneven after cleaning, and replace the grease tray when it is warped or rusted through. A leaking regulator hose should be replaced immediately.