Holiday Recipe
Smoked Spatchcock Turkey: The 4-Hour Thanksgiving Recipe with Crispy Skin
Spatchcocking a Thanksgiving turkey — removing the backbone and flattening it before smoking — is the single biggest improvement you can make to whole-turkey BBQ. Total cook time drops from 5+ hours to about 4 hours. White meat (breast) and dark meat (thigh) finish at the same time instead of one being overcooked. Skin gets crispy across the entire surface instead of just the top. The two-stage method that delivers all this: smoke at 250°F until breast hits 150°F (about 2.5 hours), then crank the smoker to 400°F to crisp the skin to a perfect 160°F breast / 175°F thigh. Total time: 3-4 hours for a 12-14 lb bird. Works on any pellet grill, Weber Smokey Mountain, or charcoal smoker capable of those temperatures. The Thanksgiving recipe that frees up your oven for the sides.
The Recipe
Smoked Spatchcock Turkey
Rated 4.9 — based on 324 reader ratings
Prep Time
15 min (+ optional 12-24 hr dry brine)
Cook Time
2-2.5 hrs Stage 1 + 30-45 min Stage 2
Rest Time
20-25 min uncovered
Serves
8-12
Smoker temp: 250°F (Stage 1) then 400°F (Stage 2)
Pull temp: 160°F breast / 175°F thigh (carries to 165°F / 180°F)
Recommended pellets: Apple, Cherry, Hickory, or Traeger Turkey Blend
Share this recipe:
The Technique Explained
Why Spatchcock a Turkey? (And Why It's Better Than Roasting Whole)
If you've never spatchcocked a turkey, the technique sounds intimidating. The actual execution is genuinely fast and the cooking results are dramatically better than traditional whole-roast turkey.
"Spatchcocking" (also called butterflying) means removing the turkey's backbone and flattening the bird so it lays flat in a single layer. The technique has been used in professional kitchens for decades; it became mainstream Thanksgiving cooking in the 2010s when home cooks discovered the dramatic cooking improvements. The benefits are specific and worth understanding:
Faster Cook Time (4 hours vs 5+)
A whole un-spatchcocked 12-14 lb turkey takes 5-6 hours to smoke at 225-275°F. A spatchcocked turkey at the same temperatures takes 3-4 hours. The flatter shape exposes more surface area to heat, so the bird cooks faster and more efficiently. On Thanksgiving Day this matters — you free up time for sides, gravy, and family.
Even Cooking (White & Dark Meat)
The biggest problem with whole-roast turkey: white meat (breast) finishes at 165°F before dark meat (thighs) reach 175°F. Result: dry breast OR underdone thighs. Spatchcocking equalizes cook time — both finish simultaneously. Juicy breasts AND tender thighs in one bird. This is the technique that separates good Thanksgiving turkey from great Thanksgiving turkey.
Crispier Skin Across the Bird
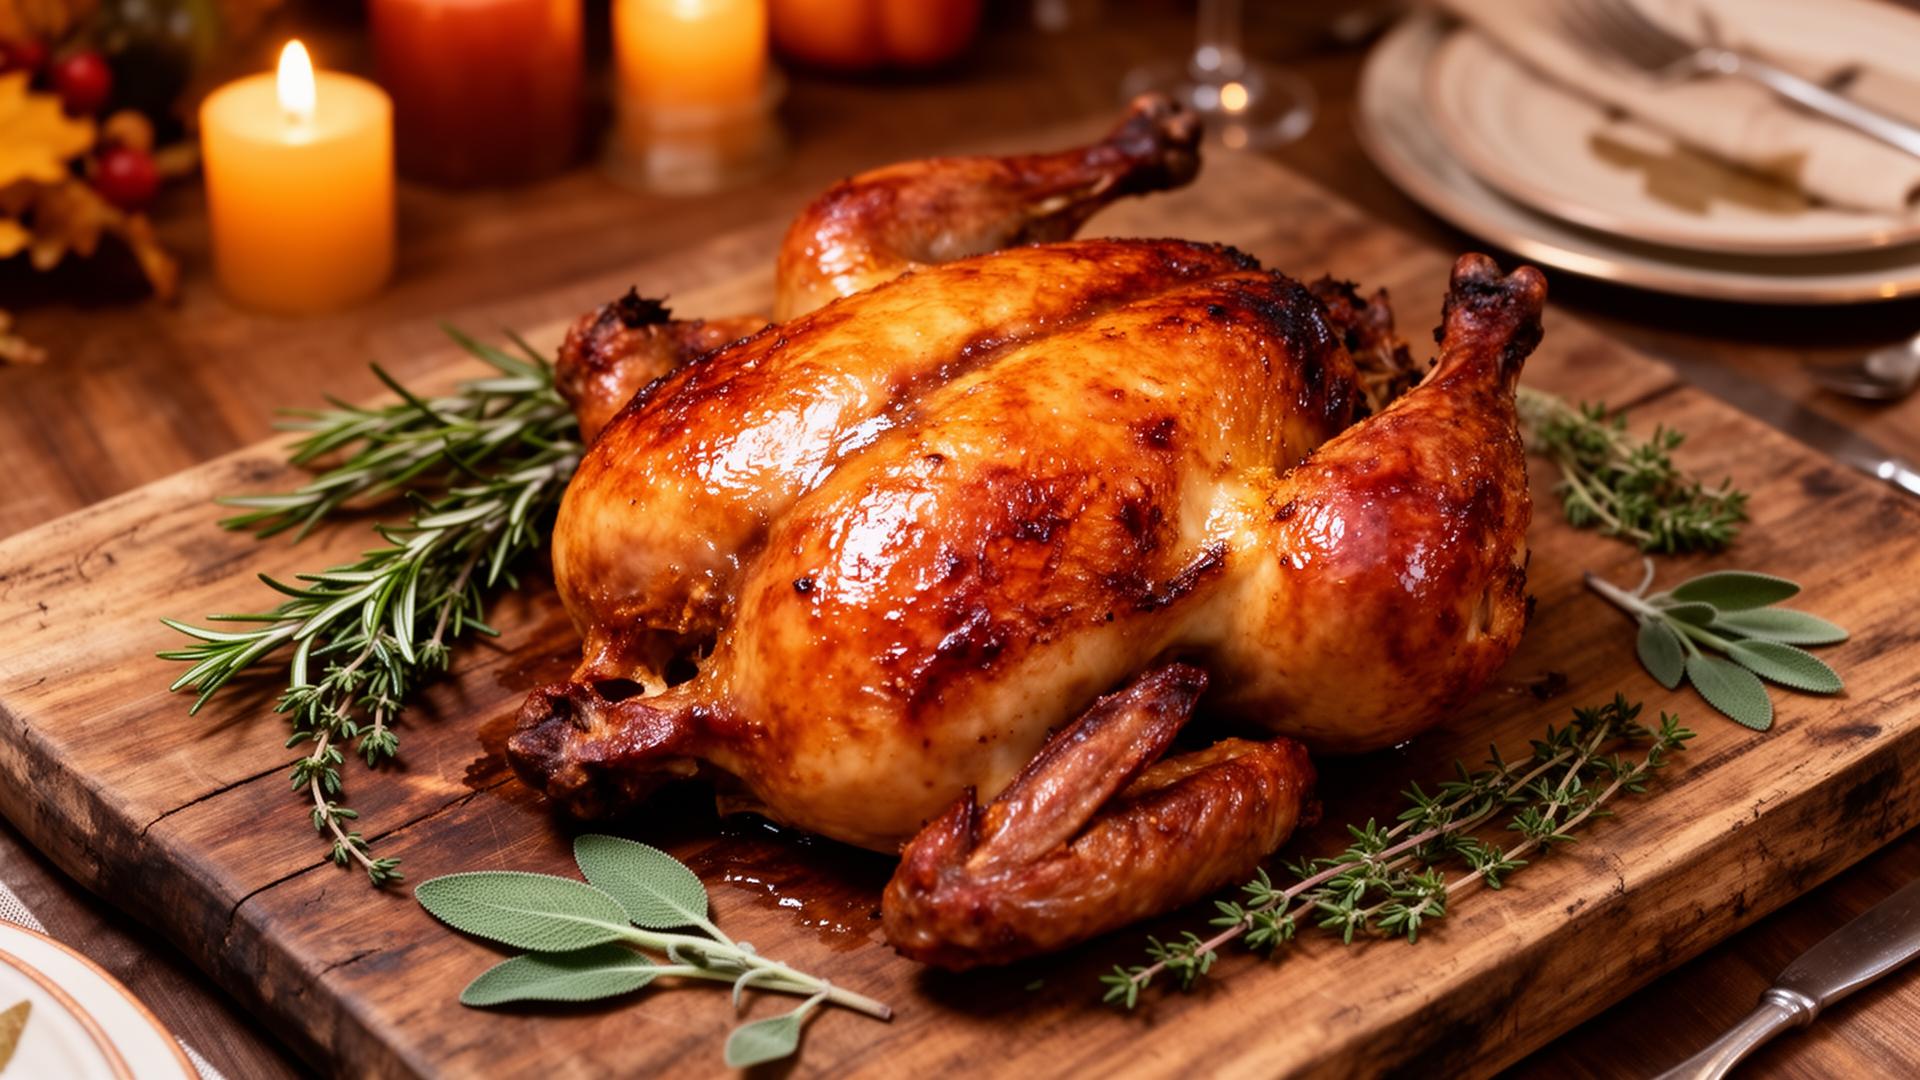
Roast turkey has crispy skin on top but soggy skin underneath where it touches the pan. Spatchcock turkey sits flat on the smoker grate — every surface is exposed to heat and smoke. Skin crisps uniformly across the entire bird. The presentation is also more impressive — a flattened golden-brown turkey is genuinely showpiece-worthy at the Thanksgiving table.
The 60-second backbone removal is the single biggest cooking technique upgrade Thanksgiving home cooks haven't tried. Once you spatchcock once, you won't go back to whole-roast turkey.
Before You Start
What You'll Need
A 10-14 pound turkey, dry rub, kitchen shears for the spatchcock, and a smoker. Pantry-staple ingredients beyond the turkey.
The Ingredients
Homemade Turkey Dry Rub
- 3 tablespoons kosher salt
- 2 tablespoons brown sugar
- 1 tablespoon smoked paprika
- 1 tablespoon coarse black pepper
- 2 teaspoons garlic powder
- 2 teaspoons onion powder
- 1 teaspoon dried thyme
- 1 teaspoon dried sage
- 1 teaspoon ground mustard
- 1/2 teaspoon cayenne (optional, for mild heat)
The brown sugar in the rub helps create the caramelized golden-brown bark on the skin during the high-heat finish. Don't skip it. The optional baking powder is the secret pro-tip — draws moisture out of the skin during cooking for dramatically crispier results.
The Equipment
Quality kitchen shears matter more for turkey than chicken. Turkey backbones are significantly thicker and harder to cut through than chicken. Cheap shears bend or slip — frustrating and dangerous. Wusthof Come-Apart Kitchen Shears ($45) or OXO Good Grips Spring-Loaded Shears ($30) are the workhorses. Will last 20+ years and handle any holiday bird.
The 5-Minute Technique
How to Spatchcock a Turkey (Step by Step)
The technique sounds intimidating; the actual execution takes 5 minutes once you've done it once. Here's the technique step-by-step, scaled up from chicken spatchcocking for turkey-sized birds.
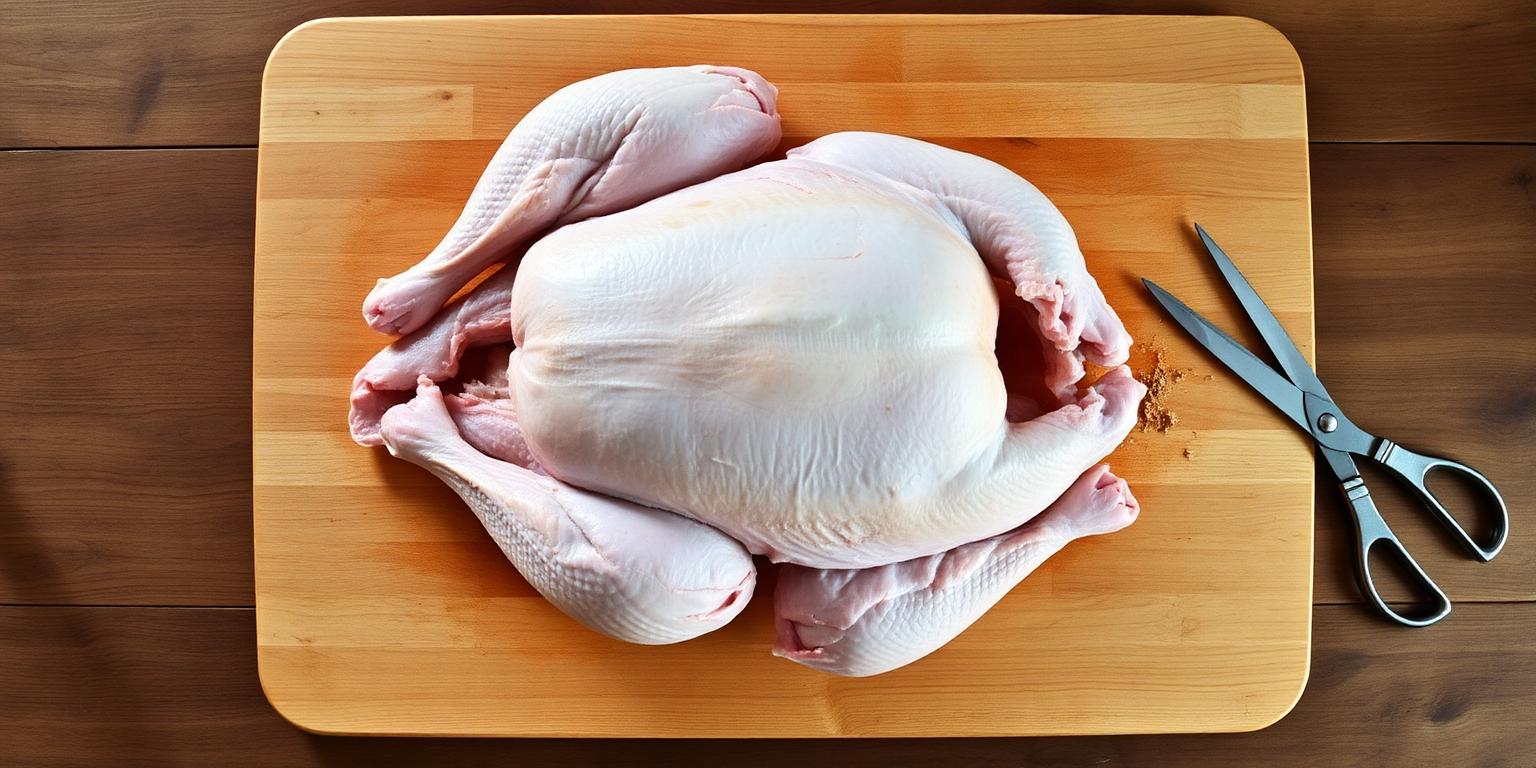
The complete spatchcocking process from raw whole turkey to flattened ready-to-smoke takes about 5-7 minutes for first-timers, 3-4 minutes for experienced cooks. The key difference from chicken: turkey backbones are significantly thicker and require more force.
- 1
Remove the giblets from inside the turkey cavity. Save them for turkey stock or gravy. Pat the turkey completely dry with paper towels.
- 2
Place turkey breast-side DOWN on a large cutting board. The legs should point toward you. Make sure you have plenty of workspace — turkeys spread wide once flattened.
- 3
Cut along both sides of the backbone using sturdy kitchen shears. Start at the tail end. Cut through the ribs (you'll feel resistance — this is normal, keep going steadily), continue all the way to the neck. Cut down both sides of the backbone — this gives you two parallel cuts about 1 to 1.5 inches apart on either side of the spine.
- 4
Remove the backbone by pulling it out. It should come free easily after both side cuts. Save the backbone for turkey stock — it makes excellent base for gravy.
- 5
Flip the turkey breast-side UP. Press FIRMLY on the breastbone with the heel of your hand (or both hands together for thicker birds). You'll hear a distinct crack as the breastbone gives — this is normal and necessary. Push down hard — turkey breastbones require more force than chicken.
- 6
Tuck the wing tips under the wing-shoulder joint (or remove them entirely with shears — wing tips burn easily during long cooks). The bird should now lay completely flat in a single layer.
Pro tips for first-time turkey spatchcockers: Sturdy kitchen shears (not knife) is the only safe tool — knives slip on bone. Cut THROUGH the rib bones; don't try to cut around them. The first time you do it might feel awkward; the second time will feel natural. Total time after a few practice sessions: under 5 minutes from raw turkey to spatchcocked.
For maximum crispy skin: Dry-brine 12-24 hours. After spatchcocking, sprinkle the turkey liberally with kosher salt (~1 tablespoon for a 12-pound bird). Place on a large baking sheet with a wire rack. Refrigerate UNCOVERED for 12-24 hours. The exposed skin loses surface moisture; salt penetrates the meat. Result: dramatically crispier skin during the smoke. This adds time but is the single biggest crispy-skin upgrade. Skip if you don't have time; the recipe still works without it.
For Thanksgiving specifically: spatchcock and dry-brine on Wednesday afternoon, smoke on Thursday morning. The 18-hour rest gives meaningful flavor and texture improvement.
Step by Step
How to Smoke Spatchcock Turkey on a Pellet Grill (Two-Stage Method)
Six steps. The two-stage temperature change (smoke then crisp) is what separates good smoked turkey from great smoked turkey. Same proven technique as spatchcock chicken, scaled up for turkey timing.
- 1
SEASON
Apply herbed butter under the skin and dry rub on top
Pat the spatchcocked turkey completely dry with paper towels. If you dry-brined overnight, the skin will already feel slightly tacky from the salt cure — pat dry anyway to remove any visible moisture.
Mix the softened butter with chopped rosemary, thyme, and minced garlic to create herbed compound butter. Critical step most home cooks skip: gently lift the breast skin from the meat (use your fingers, working carefully) and rub the herbed butter UNDER the skin directly on the breast meat. Same technique for thigh skin if accessible. This adds significantly more flavor to the white meat — Thanksgiving turkey breast is famously bland; this step solves it.
Drizzle the exterior with olive oil. Rub the dry rub over both sides — about 1 tablespoon per pound of turkey. Apply the optional baking powder mixed with salt as a secret crispy-skin booster.
Let the seasoned turkey sit at room temperature for 30-45 minutes while the smoker preheats. Cold turkey straight from the fridge cooks unevenly.

Time: 10 minutes active + 30-45 minute room-temperature rest
- 2
PREHEAT
Preheat smoker to 250°F with apple, cherry, or Traeger Turkey Blend
Fire up your smoker and set it to 250°F. If your Traeger has Super Smoke mode (Ironwood, Timberline, Woodridge Pro), enable it during Stage 1 — turkey absorbs smoke flavor exceptionally well during the first 60-90 minutes.
Apple is mildest, sweetest, and most popular for turkey — beautiful golden-mahogany skin. Cherry is slightly bolder than apple with deeper reddish-mahogany color, beautiful for Thanksgiving presentation. Hickory is bolder; use sparingly — turkey absorbs hickory faster than beef or pork. Pecan is the underrated nutty profile that pairs beautifully with traditional Thanksgiving sides. Traeger Turkey Blend (typically maple + hickory) is specifically formulated for poultry — safe default if you don't want to think too hard.
Avoid mesquite — far too aggressive for turkey's delicate flavor.
Optional: place a small loaf pan filled with water on the corner of the grill grates. The added moisture helps prevent the turkey from drying out during the long cook. Some pit masters consider this essential for turkey; others skip it. Both approaches work.
Time: 15 minutes preheat
- 3
STAGE 1
Smoke at 250°F to 145-150°F internal in the breast
Place the seasoned turkey directly on the grill grates breast-side UP. Insert a probe thermometer into the thickest part of the breast (avoid touching bone — bone temperature reads lie). If you have a second probe, insert it into the thickest part of the thigh.
Smoke at 250°F until breast internal temperature reaches 145-150°F. This typically takes 2 to 2.5 hours for a 12-14 pound spatchcocked turkey. During this stage, the turkey absorbs deep smoke flavor and the bark begins forming on the skin. Skin will look tan-mahogany.
Do not open the lid during Stage 1. Every lid-opening drops smoker temperature 30-50°F and extends total cook time. Trust the thermometer.
If using the optional water pan: check water level halfway through and refill if needed. The evaporating water keeps the smoke chamber humid.
Some cooks spritz with apple juice + apple cider vinegar mix at the 90-minute mark for additional moisture and flavor. Most cooks skip this — the dry brine + herbed butter combo keeps the bird moist without spritzing.
Time: 2-2.5 hours (12-14 lb bird)
- 4
CRANK
Bump the smoker to 400°F (the crisp stage)
When breast temperature hits 150°F, crank the smoker to 400°F. Leave the turkey in place — no need to remove during temperature ramp. Most pellet grills take 8-15 minutes to climb from 250°F to 400°F.
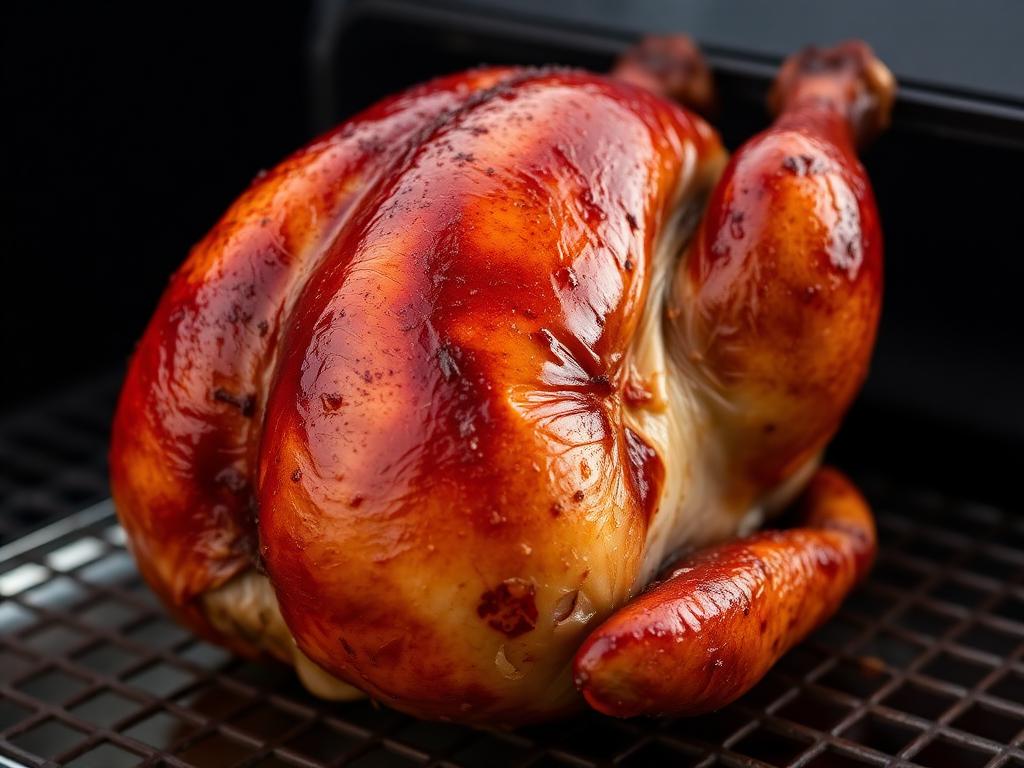
This high-heat stage is what separates rubbery-skinned smoked turkey from crispy-skinned smoked turkey. Without this temperature increase, you get the classic "pellet grill turkey skin problem" — smoky-flavored turkey with rubbery skin. The Stage 2 crank fixes it.
Brush the turkey with melted butter (~3 tablespoons) when the smoker hits 400°F. The butter helps render the fat in the skin and adds richness to the final golden crust.
Optional: tent just the breast loosely with foil if the skin browns too fast. The thigh meat takes longer to reach 175°F; the breast may be visually done before the thighs finish. Tenting only the breast prevents over-browning while letting the dark meat catch up.
Time: 8-15 minutes for grill to reach temperature
- 5
STAGE 2
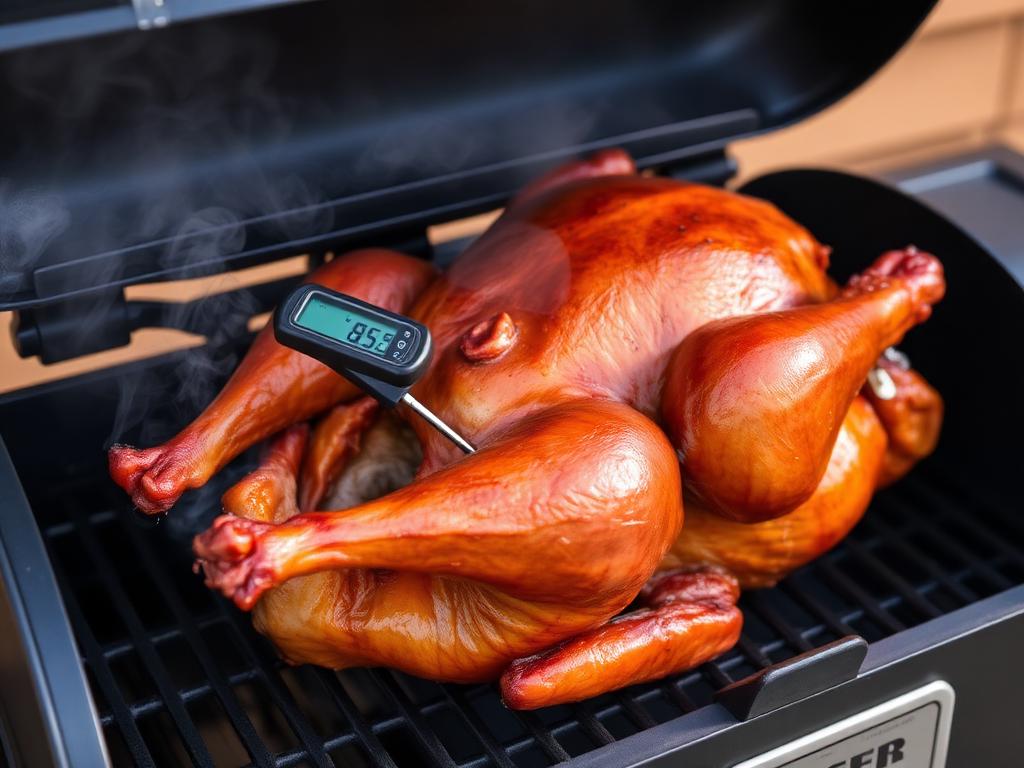
Crisp at 400°F to 160°F breast and 175°F thigh
Continue cooking at 400°F. Monitor temperature in BOTH the breast (160°F target) AND the thigh (175°F target). If your thermometer has dual probes, use them — track breast and thigh simultaneously. If single probe, check both spots manually.
Why different target temps? Breast (white meat): 160°F + 5°F carryover during rest = 165°F final (USDA-safe for poultry). Thigh (dark meat): 175°F is the sweet spot — collagen has fully rendered into gelatin, fall-apart-tender texture.
Spatchcocking allows both to reach their respective sweet spots simultaneously — the great advantage over whole-roast turkey where one always overcooks while the other catches up.
Total Stage 2 time: 30-45 minutes depending on turkey size and smoker recovery speed.
If using BBQ sauce on the wings (optional): brush sauce on just the wing tips during the last 15 minutes. The sauce caramelizes properly at 400°F and adds visual contrast.
Time: 30-45 minutes
- 6
REST
Rest UNCOVERED 20-25 minutes, then carve and serve
Pull the turkey from the smoker when breast hits 160°F and thigh hits 175°F. Transfer to a large cutting board.
CRITICAL: Do NOT cover with foil during the rest. Foil traps steam, and steam softens the crispy skin you just worked for. Every minute under foil undoes skin crisping. Rest the turkey UNCOVERED on a cutting board for 20-25 minutes. Internal temperatures will climb another 5°F during the rest (carryover cooking) — final breast 165°F, final thigh 180°F.
If your kitchen is cold (Thanksgiving is November), tent loosely with foil that's been crinkled to leave gaps for steam to escape. This balances "keeping warm" with "preserving crispy skin."
After resting, carve the turkey into 8 standard pieces: two breast halves (slice each half into 1/2-inch slices against the grain), two thighs (separate from drumstick at the knee joint), two drumsticks, two wings (separate at the joint).
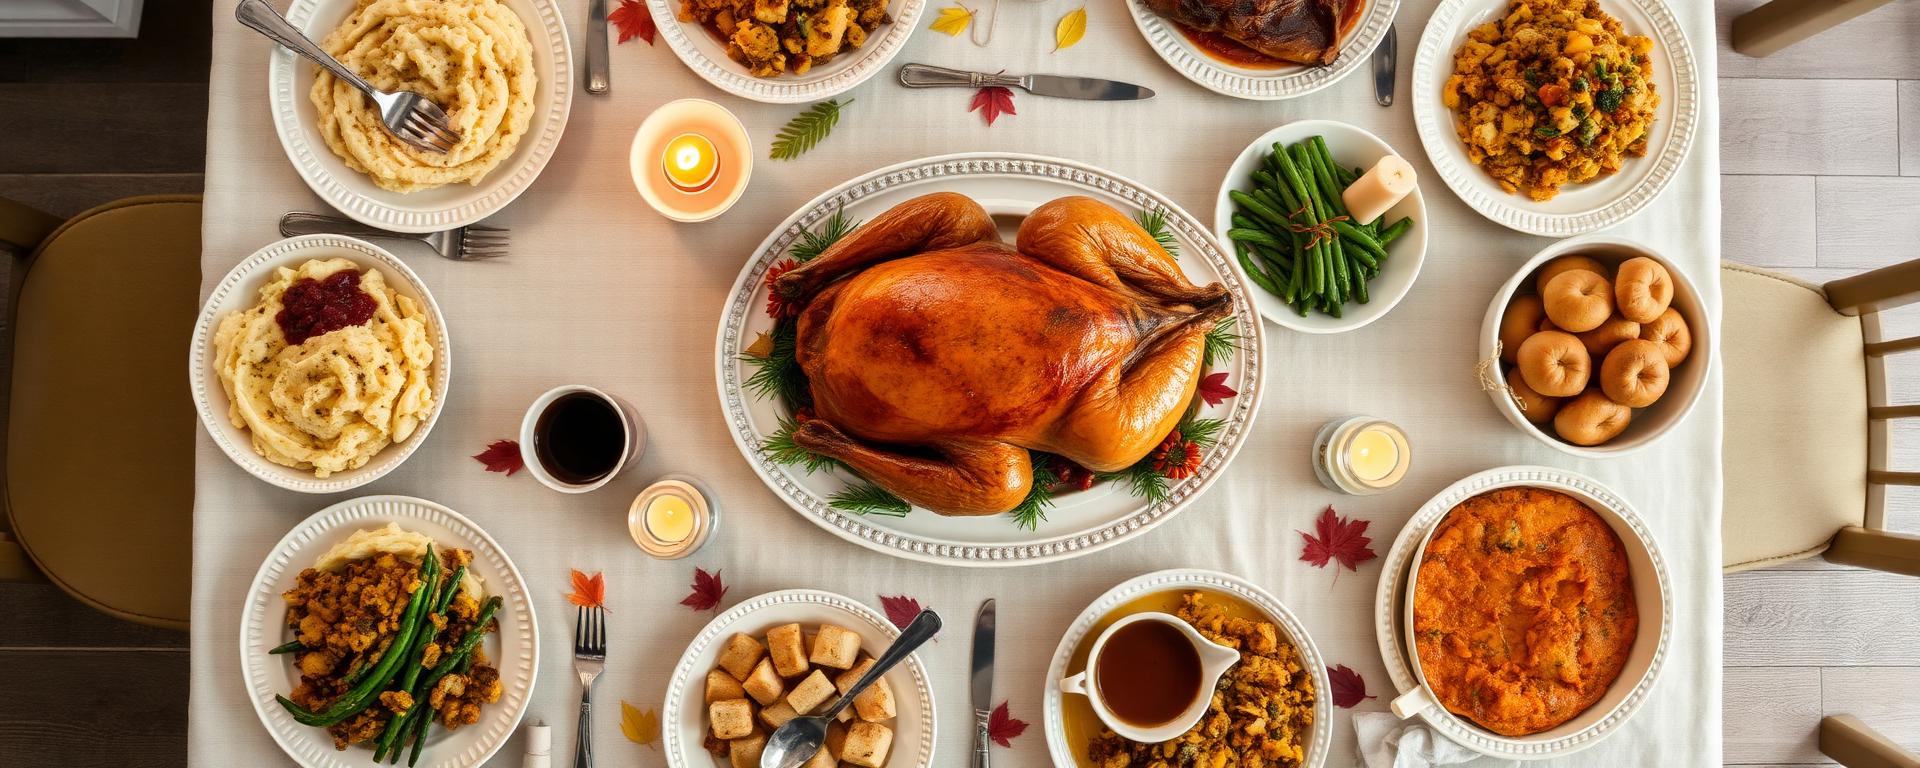
Arrange on a serving platter and serve immediately with traditional Thanksgiving sides: stuffing, mashed potatoes, gravy, cranberry sauce, green bean casserole, sweet potato casserole, dinner rolls.
Optional garnish: fresh herbs (rosemary, thyme, sage), citrus wedges (orange, lemon), roasted vegetables around the perimeter of the platter.
Time: 20-25 minutes rest + 5-10 minutes carving
The Skin Science
4 Techniques That Actually Make the Skin Crispy
"Crispy turkey skin" is the holy grail of Thanksgiving turkey. Here are the four specific techniques that actually deliver it — and why most home cooks fail without them.
1. Dry the Skin Thoroughly
Wet skin steams instead of crisping. Pat the turkey completely dry with paper towels before seasoning. For maximum effect: dry-brine 12-24 hours uncovered in the fridge. The cold dry air evaporates surface moisture from the skin, creating a papery texture that crisps beautifully on the smoker.
2. Add Baking Powder to the Rub
Baking powder (NOT baking soda) is the secret ingredient most home cooks miss. 1 teaspoon mixed with the dry rub draws additional moisture out of the skin during cooking and raises the skin's pH, accelerating browning. Authority sources (ATK, Serious Eats) all use this trick. The difference is dramatic.
3. Two-Stage Temperature (Crank to 400°F)
Smoking exclusively at 225-275°F produces rubbery skin even with perfect dry brine and baking powder. The 400°F finishing stage is non-negotiable for crispy skin. Direct high heat is what physically renders the fat in the skin and crisps it. Skip Stage 2 = rubbery skin guaranteed.
4. Rest UNCOVERED (Never Foil)
Foil tents trap steam from the resting turkey. Steam softens crispy skin within 5 minutes. Authority chefs are unanimous: rest spatchcock turkey uncovered. Some cooks even rest on a wire rack so air circulates underneath. The 20-25 minute rest preserves skin crispiness AND lets juices redistribute.
Master all four techniques and your Thanksgiving turkey will have skin that genuinely shatters when you bite it. Skip any one and you're back to soft-skin turkey. The four techniques compound — each individually helps; together they're the difference between Thanksgiving-restaurant skin and home-cooked skin.
Wood Selection
The Best Wood for Smoked Turkey
Turkey absorbs smoke flavor faster than beef or pork because of the relatively short cook time and lean meat. Milder pellets generally produce better results — turkey is easy to over-smoke.
Apple (Most Popular)
The most popular pellet for Thanksgiving turkey. Mild, slightly sweet smoke that complements turkey's natural flavor without overpowering. Beautiful golden-mahogany skin color. If you only buy one pellet for Thanksgiving, buy apple. Pairs perfectly with traditional Thanksgiving flavors (cranberry sauce, sage, butter).
Best for: Classic Thanksgiving flavor, beautiful color, traditional sides
Cherry or Traeger Turkey Blend
Cherry adds beautiful color and slightly bolder flavor than apple. Traeger Turkey Blend (typically maple + hickory) is specifically formulated for poultry — balanced, won't overpower. Both are excellent default choices for turkey beginners.
Best for: Visual appeal (cherry), foolproof results (Turkey Blend)
Pecan or Hickory (For Bolder Flavor)
Both add more assertive smoke flavor. Pecan is nutty and pairs beautifully with brown sugar in the rub. Hickory is the classic American BBQ wood — bold and traditional. Use either if you prefer more pronounced smoke flavor on your Thanksgiving turkey. Avoid using hickory aggressively — turkey absorbs hickory faster than beef or pork.
Best for: Bolder BBQ-style flavor, traditional pit master approach
What to Avoid
- •Mesquite: too aggressive for turkey. Will completely overpower the bird.
- •Pure oak: works fine but produces less interesting flavor than fruitwoods.
- •Maple alone: too subtle for a 3-4 hour cook; works in blends but not standalone.
The Gear I Use
Essential Gear for Smoked Spatchcock Turkey
Four tools that make this Thanksgiving recipe genuinely foolproof. The wireless thermometer is the single biggest game-changer.
Wireless Probe Thermometer
Non-negotiable for turkey. The 3-4 hour cook requires monitoring temperature without opening the lid AND tracking breast (160°F) + thigh (175°F) simultaneously. ThermoPro TP20 ($70) — two probes, wireless, reliable. MEATER Plus ($100) — single wireless probe. ThermoWorks Smoke ($99) — premium accuracy. Critical for Thanksgiving when the stakes are high.
Shop wireless thermometers →Heavy-Duty Kitchen Shears
Spatchcocking turkey REQUIRES sturdy shears. Cheap shears bend on turkey backbone — frustrating and dangerous. Wusthof Come-Apart kitchen shears ($45) or OXO Good Grips Spring-Loaded ($30) are the workhorses. Will last 20+ years. Worth the investment for a tool you'll use every Thanksgiving.
Shop kitchen shears →Apple or Cherry Wood Pellets
Apple for classic Thanksgiving flavor, cherry for beautiful color, Traeger Turkey Blend for foolproof results. Traeger Apple ($25/20lb), Bear Mountain Cherry ($22), or Traeger Turkey Blend ($28). 20-pound bag handles 8-10 turkey cooks. Buy a backup bag in October — Thanksgiving demand can clear shelves.
Shop turkey pellets →Carving Knife and Board
Thanksgiving turkey deserves proper carving tools. Wusthof Classic 12-inch Granton Carving Knife ($150) or Victorinox Fibrox 12-inch ($60). Pair with a large carving board (deep juice well preferred). Quality tools make Thanksgiving carving genuinely enjoyable instead of frustrating.
Shop carving knives →Avoid These
7 Common Spatchcock Turkey Mistakes
Seven preventable errors that can turn Thanksgiving disaster — when the stakes are highest.
Mistake 1: Skipping the high-heat finish phase
The #1 mistake. Cooking exclusively at 225-275°F produces smoky turkey with rubbery skin (the famous pellet grill turkey problem). The fix is non-negotiable: after the breast hits 145-150°F, crank the smoker to 400°F. This 30-45 minute crisp phase is what makes the skin actually crispy. Skip it = rubbery skin guaranteed = sad Thanksgiving.
Mistake 2: Pulling turkey at 165°F EVERYWHERE
White meat (breast) and dark meat (thigh) have different optimal pull temperatures. Breast at 165°F = USDA safe. Thigh at 165°F = tough connective tissue still intact. Pull breast at 160°F (carryover brings to 165°F final), thigh at 175°F. The 10°F+ difference produces juicy white meat AND fall-apart tender dark meat. Universal 165°F = compromise that satisfies neither.
Mistake 3: Tenting with foil during the rest
Foil traps steam, and steam softens crispy skin within 5 minutes. Authority chefs are unanimous: rest smoked turkey UNCOVERED. Some cooks rest on a wire rack to allow airflow underneath. The 20-25 minute uncovered rest preserves skin crispiness AND lets juices redistribute. Foil ruins the bird at the most important meal of the year.
Mistake 4: Not seasoning under the skin
Dry rub on skin only flavors the skin — the breast meat underneath stays bland. Lift the skin gently with your fingers and rub herbed butter DIRECTLY on the breast meat. This single technique dramatically improves whole-bird flavor. Authority recipes call this out specifically; home cooks routinely skip it. Thanksgiving turkey is famously bland in the breast — under-skin seasoning solves this.
Mistake 5: Using turkey larger than 14 pounds
For spatchcocking specifically, stay under 14 pounds. Larger birds spend too long in the "danger zone" (40-140°F) during low-and-slow smoking, increasing food safety risk. They're also harder to physically spatchcock (stronger bones). For larger gatherings, smoke TWO smaller turkeys instead of one giant one. Two 11-pound birds feed 20+ people and cook in the same time as one 11-pound bird (if your smoker has space).
Mistake 6: Using a dull knife for spatchcocking
Spatchcocking with a sharp KNIFE is dangerous — knives slip on turkey bone (which is harder than chicken bone) and can injure your hand. Use proper kitchen shears instead. They're designed to cut through bone safely. Cheap shears bend; quality shears (OXO, Wusthof) make the cut quick and safe. Don't try to spatchcock with whatever sharp object is handy.
Mistake 7: Using mesquite or aggressive pellets
Turkey absorbs smoke flavor faster than beef or pork. Mesquite at 3-4 hours produces overpowering smoke — guests will taste only smoke, not turkey. Stick with apple, cherry, pecan, or Traeger Turkey Blend for safe results. Save mesquite for your beef brisket or pork shoulder.
The Thanksgiving Table
6 Ways to Serve Smoked Spatchcock Turkey
Smoked turkey deserves a proper Thanksgiving spread. Six serving styles for different occasions.
1. Classic Thanksgiving Plate
Carved turkey with stuffing, mashed potatoes, gravy, cranberry sauce, green bean casserole, sweet potato casserole, dinner rolls. The traditional spread.
2. Sliced Family Style
Whole spatchcocked turkey on a wooden carving board, family carves themselves. Showpiece presentation that turns dinner into an event.
3. Modern Thanksgiving
Sliced turkey with roasted Brussels sprouts, cauliflower puree, cranberry chutney, sourdough stuffing. Updated traditional spread.
4. Day-After Turkey Sandwich
Sliced cold turkey on toasted sourdough with cranberry sauce, stuffing, mayo, lettuce. The leftover classic Friday lunch.
5. Friendsgiving Turkey Tacos
Pulled turkey with avocado, queso fresco, cilantro, lime crema in flour tortillas. Friendsgiving alternative for younger crowds.
6. Turkey Pot Pie (Leftovers)
Day-after-Thanksgiving leftover dish: diced turkey, mixed vegetables, cream sauce, pie crust. Classic leftover repurposing.
Leftover smoked turkey keeps in the fridge 4-5 days and makes excellent next-day meals. Bones make superb turkey stock when simmered 4-6 hours with carrots, celery, onion, and herbs — the foundation for next year's gravy or post-Thanksgiving turkey soup. Don't waste the carcass.
FAQ